
Collecting LiveVault log files in a Windows environment
A log, in a computing context, is the automatically produced and time-stamped documentation of events relevant to a particular system. Virtually all software applications and systems produce log files. Examples of log files include access logs, transaction logs, and audit logs. These provide useful information to help understand how a system is operating, support fault diagnosis, and optimise performance.
Cloud Direct Technical Services may at times require you to send your LiveVault logs to aid troubleshooting or performance analysis. This article shows how to locate the log files associated with LiveVault in a Microsoft Windows environment, and send them to Cloud Direct.
If you need assistance with gathering any of these logs please contact Cloud Direct Technical Services on 0800 368 1831, or email TechServices@clouddirect.net.
Collecting LiveVault logs
The following logs, created by LiveVault, Windows, and your own computer, give a comprehensive picture of how LiveVault is performing. This information is required by Cloud Direct Technical Services to aid troubleshooting or performance analysis:
- LiveVault logs, including .rpt file
- Windows Event Viewer logs
- Windows System Information log
- vssadmin list writers, and vssadmin list providers
- #:\LiveVaultData\logs folder (last few logs only)
Please follow the instructions below to collect the required logs, then proceed to, Returning LiveVault logs to Cloud Direct.
Prerequistes
Before starting to collect logs, please create a folder entitled LiveVault logs, where all individual log files can be stored before sending them to Cloud Direct.
You will require administrator permissions on your computer to carry out this procedure.
LiveVault logs, including .rpt file
The following three LiveVault logs are required; lvMessage0.log, lvSuper0.log, and LVConfig.xml. To collect these logs, proceed as follows.
- In Windows Explorer, browse to the LiveVault Program Directory.
Note:
If the agent was installed some time ago then, by default, the LiveVault Program Directory will be C:\Program Files\Iron Mountain\backupengine. Otherwise, it will be C:\Program Files\Autonomy\backupengine.
- Hold down the CTRL key on your keyboard, and left click on the lvMessage.0.log, lvSuper.0.log and the LVConfig.xml so that they are all highlighted.
- Right click on any one of the highlighted files to reveal a list of options, then left click on the option to Copy.
- Browse to the folder where you are collecting the log files (LiveVault logs folder), then paste a copy of these three files into the folder.
Check for a .rpt file
In addition to the three LiveVault logs, check the content of the LiveVault Program Directory for the presence of a .rpt file. If a .rpt file is found then copy and paste it into folder where you are collecting the log files (LiveVault logs folder).
Note:
A .rpt file may or may not be present in the LiveVault Program Directory. If a .rpt file is present, it will be visible at the top level of the folder. There is no need to open individual sub-folders to search for it.
Windows Event Viewer logs
Two Windows logs; Application and System, are taken from your Windows Event Viewer. Access the Event Viewer as follows:
- Open your Windows Control Panel.
- From the Control Panel, click System and Security, and then select Administrative Tools.
- Double-click on Event Viewer.
Note:
If you're prompted for an administrator password, or confirmation, then type the password or provide confirmation.
The Event Viewer opens.
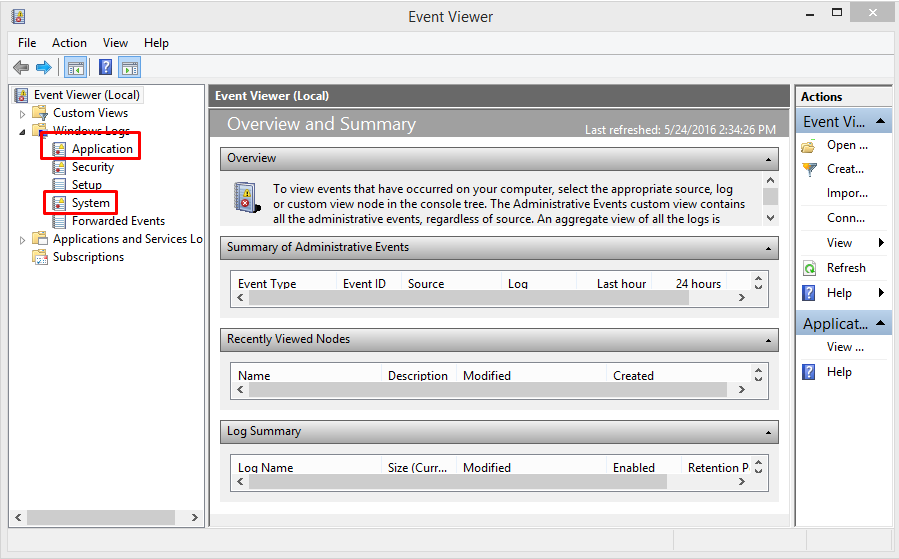
- In the left hand navigation pane, under Windows Logs, right click on Application to display a list of options. Left click on the option to Save All Events As.
A Save As window opens.
- Browse to the folder location where you would like this log to be saved (LiveVault logs folder).
- In File name, type, EV Application for this log file.
- In Save as type, select the *.evtx file format.
- Click Save.
- Repeat Step 4 to Step 8 for the System log, saving this second log as EV System.
Windows System Information
Collect the Windows System Information log as follows.
- From the Windows Start button, access the Run application.
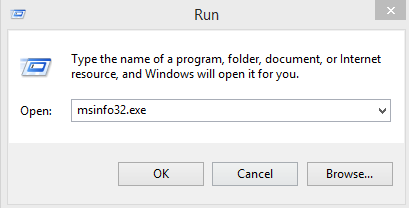
- In the Open textbox, type, msinfo32.exe, then click OK.
The System Information window appears.
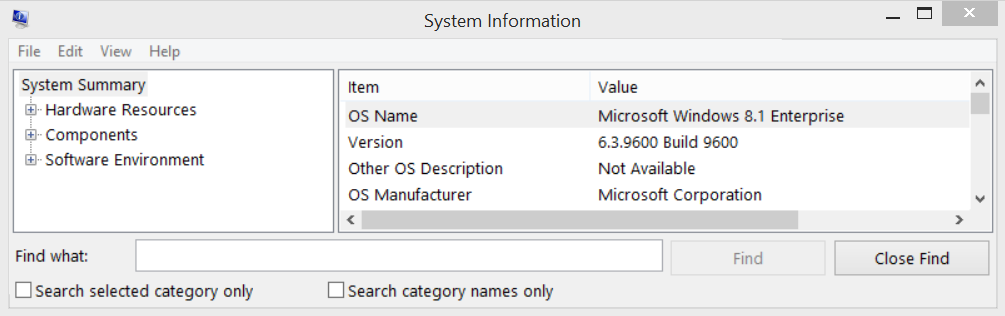
- In the top left hand corner, click on the File menu and, from the menu options, select Save.
A Save As window opens.
- Browse to the folder location where you would like this log to be saved (LiveVault logs folder).
- In File name, type, System Information for this log file.
- In Save as type, select the *.NFO file format.
- Click Save.
vssadmin list writers, and vssadmin list providers
Collect the vssadmin list writers, and vssadmin list providers logs as follows.
- Open a Command Prompt (CMD) window:
- With Windows 8, 8.1, or 10, right click on the Start button, then select Command Prompt (Admin) from the menu options.
- With Windows 7, Vista, or XP, click Start>All Programs>Accessories>Command Prompt.
Note:
You must open the CMD window as an administrator.
- If a User Account Control dialogue box appears, click Yes.
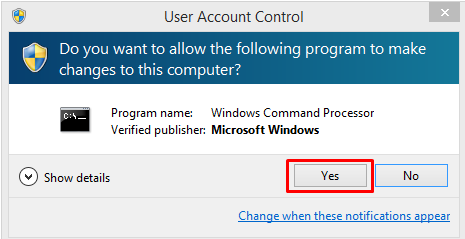
An Administrator: Command Prompt window appears.
- At the Command Prompt, type, vssadmin list writers, then press Return.
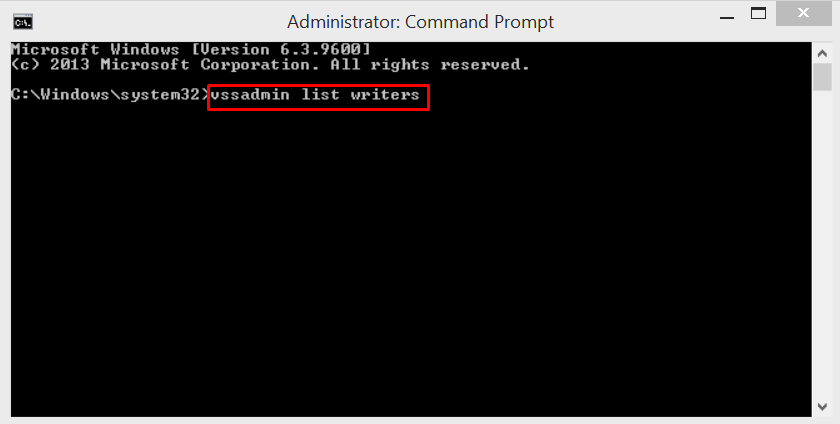
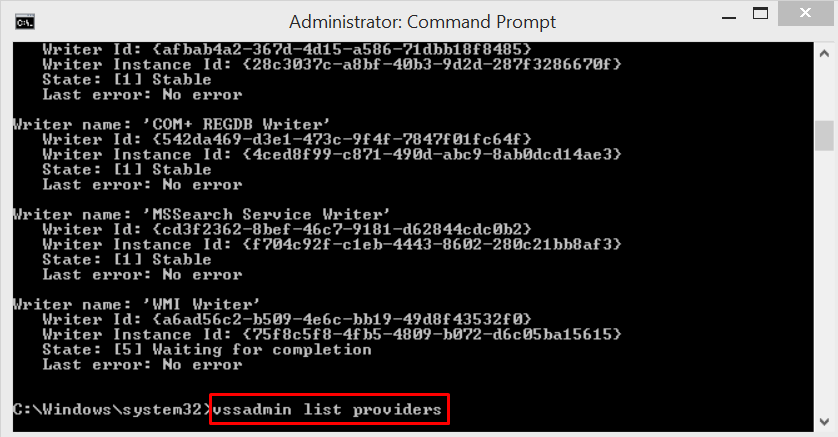
The screen lists vssadmin writer data, then stops at another prompt.
- Type, vssadmin list providers, then press Return.
- Right click in the Command Prompt window and, from the menu options, click Select All.
This saves both vssadmin list logs to the clipboard.
- Open a blank Notepad, and then paste (shortcut, CTRL-V) the clipboard content into Notepad.
- Name the Notepad file as vssadmin.txt, and save it in the folder location where you have saved the other log files (LiveVault logs folder).
#:\LiveVaultData\logs folder
By default, LiveVault will install the LiveVaultData folder on the drive with the largest free memory. The "#" in this title indicates this drive.
To collect the LiveVaultData\logs, proceed as follows.
- On your server, locate the LiveVaultData folder.
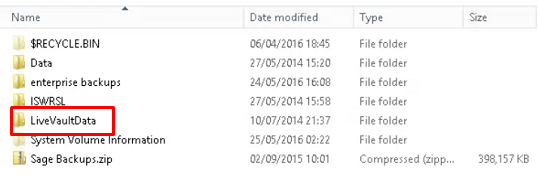
- Click to open the folder, then click Logs.
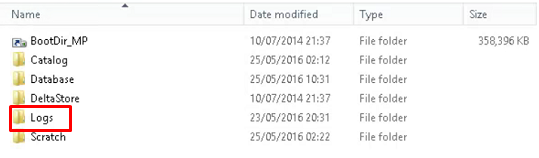
The LiveVaultData logs are listed.

- Arrange the list of logs in Date modified order.
- Copy and paste the latest three logs into the folder where you have saved the other log files (LiveVault logs folder).
Returning LiveVault logs to Cloud Direct
After saving all required log files in a single folder, proceed as follows to send the log files to Cloud Direct.
- Right click on the folder icon and select; Send to, then, Compressed (zipped) folder.
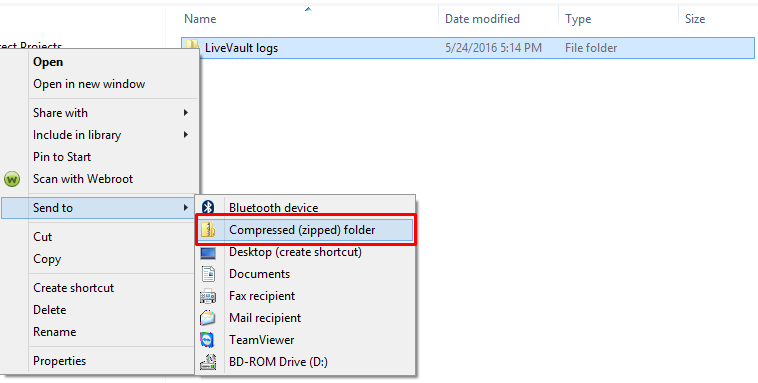
A compressed zipped folder, containing all your log files, is created.

- Attach the zipped folder to an email and send it to Cloud Direct.
