
Reinstalling the Toolbar
The Cloud Direct Telephony Toolbar, more commonly known simply as the Toolbar, is a small application that lives in your web browser (for example, Internet Explorer) or your Microsoft Outlook email client. With the Cloud Direct Toolbar you can manage your incoming and outgoing calls, maintain up-to date connection information, retrieve voicemail, and setup features of your phone service.
Occasionally, perhaps following changes to a user computer, it may be necessary to re-install the Toolbar software. This article describes how to re-install the Toolbar. A re-install is essentially a complete un-install followed by an install.
Un-installing the Toolbar
The procedure to uninstall the Toolbar software from a Microsoft Windows computer differs slightly depending on the version of Windows. Administrator permission may be required. If you're prompted for an administrator password or confirmation, type the password or provide confirmation.
To uninstall the Toolbar software, follow the procedure below for your version of Windows:
- Navigate to the Control Panel.
- From the Programs category, choose Uninstall a Program.
The Uninstall or Change a Program window appears, listing your currently installed programs.
- In the list of currently installed programs, locate, Voice Direct Toolbar 17SP4 (17.4.89.4) MB17 (or similar, depending on which version of the Toolbar you originally installed) and click the associated Uninstall button. Note that this button may be called the Uninstall/Change button.
- When Windows asks whether you're sure you want to uninstall the Voice Direct Toolbar, click Yes.
A Windows Installer message appears, indicating that Windows is preparing to remove the software.
- Follow on-screen messages to complete the un-install.
The Voice Direct Toolbar 17SP4 (17.4.89.4) MB17 is removed from the list of installed programs, indicating the Toolbar software has now been removed from the computer.
Installing the Toolbar
The Toolbar is supported on Microsoft Windows XP and later only. You must have local Administrator privileges to install the Toolbar. However, you do not require elevated privileges to use it. You also need one of the following installed; Microsoft Internet Explorer 6 or later, or Outlook 2003 or later (but excluding Outlook 2013).
The Toolbar must be downloaded from Cloud Direct and installed before it can be used.
To download the installation package,
- Open a web browser.
- Enter the following URL in the address field,
http://downloads.yourservices.co.uk/backupdirect/Toolbar.exe
- Click return.
A message appears asking if you wish to Run, or Save, the toolbar.exe file. If you wish to save the file for installation later, then save to a location on your computer. This article will proceed with the install now.
- Click Run.
If a message appears stating that this is an unrecognized app that may put your computer at risk, click the Run anyway option.
The User Account Control message box appears.

- Click Yes.
The installation begins, and the Voice Direct Toolbar Setup window appears.
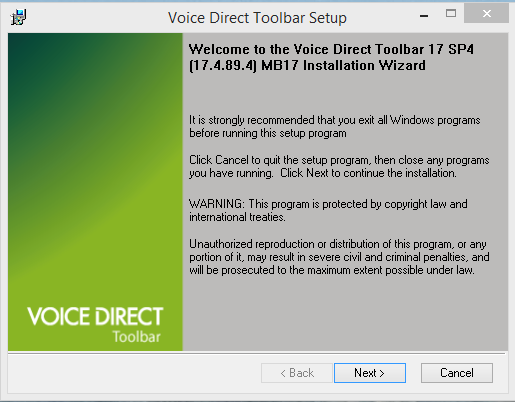
- Click Next.
The Destination Folder window appears.

You may wish to change the Destination Folder, but you are recommended to accept the default destination.
- Click Next.
You are requested to select the desired installation type. Complete is recommended.
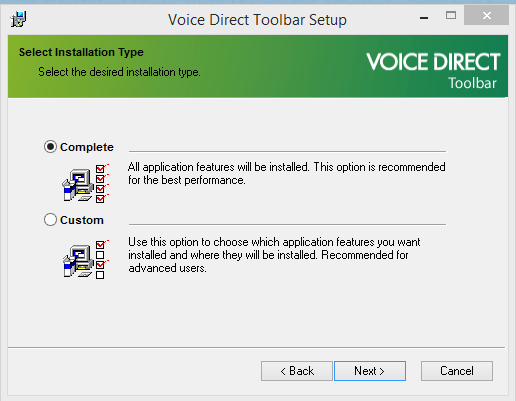
- Click Next.
The Ready to Install the Application window appears.
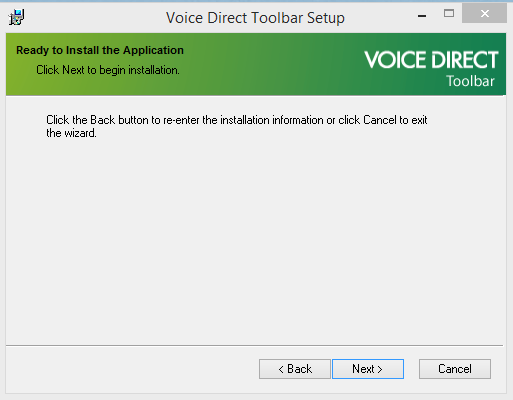
- Click Next.
The installation continues and, when complete, a window appears indicating the Toolbar software has been successfully installed.
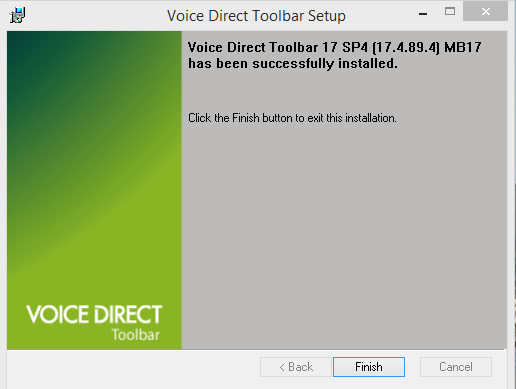
- Click Finish.
The Toolbar installation is now complete.
Note:
After installation, when you first open Internet Explorer, you may receive a message saying, "The Telephony Toolbar Call Control add-on is ready to use". Click Enable to have the Toolbar appear on the Internet Explorer window.
For further information on the Toolbar, go to knowledge article, Setup and use the Toolbar.
