
Sharing contacts
You can share any of your Exchange Server account contact folders with another person in your organisation who is also using an Exchange Server account. If supported by your organisation's sharing policies, you may also be able to share a contacts folder with people outside your organisation. You can create a new contacts folder for a specific project, share it with others, and grant them permission to change the contacts.
Note:
This feature requires a Microsoft Exchange Server account.
This article describes how to share contacts with others, using a desktop version of Outlook. The article contains the following sections:
- Sharing with specific people inside your organisation
- Sharing with specific people outside your organisation
- Revoking or changing other people's access permissions
Sharing with specific people inside your organisation
The default Contacts folder in Outlook is created in each Outlook profile. This folder can't be renamed or deleted. You might have additional contact folders. You can share any of these folders by doing the following:
- At the bottom right hand corner of your Outlook window, click People.

Your Contacts page opens on the HOME tab.
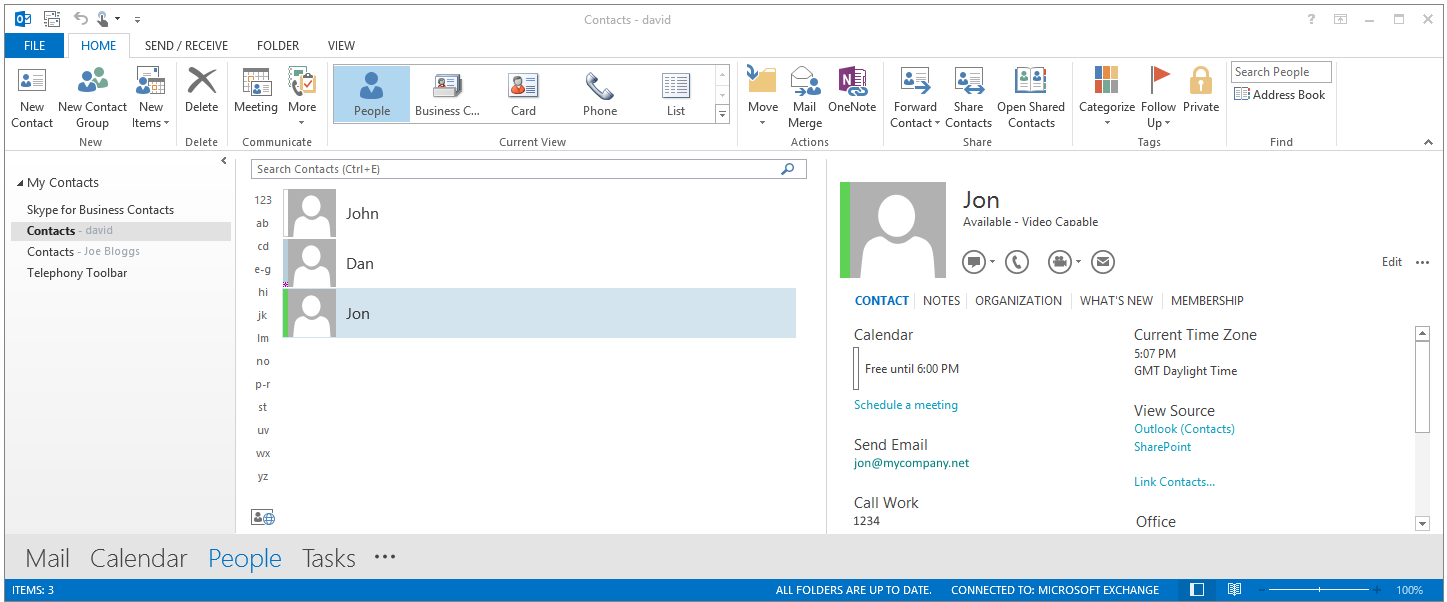
- In the left hand pane, under My Contacts, click the contact folder that you want to share with a person in your organisation.
- Click, Share Contacts.

A Sharing invitation email window appears.

- Complete entries on the new email as follows:
- In the To box, enter the name of the recipient for the sharing invitation message.
- If you want to, you can change the Subject.
- If you would like to view the recipient's default People folder then tick the Request permission to view recipient's Contacts folder check box.
Note:
If you want to request access to a contacts folder other than the recipient's default People folder, you must send an email message that asks for permissions to that particular folder.
- Ensure that checkbox, Allow recipient to view your Contacts folder is ticked.
- In the message body, type any information that you want to include.
- Click Send.
A confirmation dialogue box appears.

- Review the confirmation dialog box, and then if correct, click Yes.
The person in your organisation receives the sharing invitation in email, then clicks Open this Contacts folder to access your Contacts folder.
Sharing with specific people outside your organisation
To share your Contacts with specific people outside your organisation, proceed as follows.
- Follow Step 1 to Step 5 of Sharing with specific people in your organisation.
Note:
If the following error displays when you try to send the sharing invitation, then sharing contacts with people outside of your organisation is not supported by the sharing policy for your organisation.
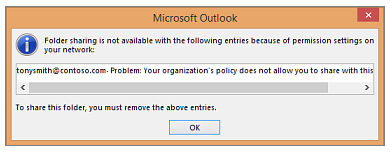
Only an admin in your organisation can change the sharing policy for your organisation.
If you receive an error when you try to share your contacts with someone outside your organisation, contact the person that manages your email account.
The person outside your organisation receives the sharing invitation in email, then clicks Open this Contacts folder to access your Contacts folder.
Revoking or changing other people's access
To change or revoke someone's access permissions to your contacts folders, proceed as follows.
- At the bottom right hand corner of your Outlook window, click People.
Your Contacts page opens on the HOME tab.
- In the left hand pane, under My Contacts, click the contact folder that you want to share with everyone.
- Click the FOLDER tab, then, in the Folder page, click Folder Permissions.

The Contact Properties window appears.
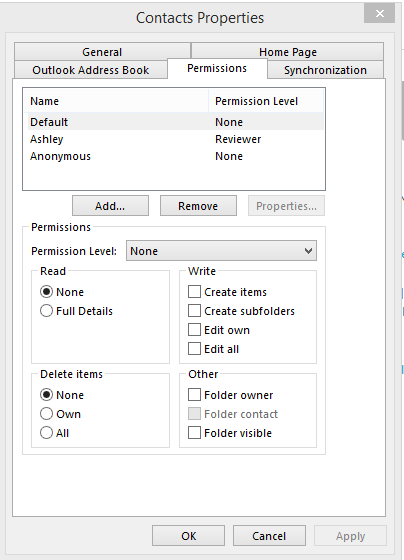
- To change or revoke permissions then complete entries on the Contacts Properties window as follows.
Note:
Refer to the table at the end of this article for a description of permissions for different levels or roles.
- To revoke or change access permissions for everyone, then,
i. In the Name box, click Default.
ii. Under Permissions, in the Permission Level list, click None to revoke permissions completely, or any of the other options to change permissions.
- To revoke or change access permissions for one person only, then,
i. In the Name box, click the name of the person whose access permissions you want to change.
ii. Under Permissions, in the Permission Level list, click None to revoke permissions completely, or any of the other options to change permissions.
- Click OK.
Your changes are saved and implemented.
Permissions for different levels or roles
|
With this permission level (or role) |
You can… |
|
Owner |
Create, read, change, and delete all items and files, and create subfolders. As the folder owner, you can change the permission levels that other people have for the folder. (Doesn't apply to delegates.) |
|
Publishing Editor |
Create, read, change, and delete all items and files, and create subfolders. (Doesn't apply to delegates.) |
|
Editor |
Create, read, change, and delete all items and files. |
|
Publishing Author |
Create and read items and files, create subfolders, and change and delete items and files that you create. (Doesn't apply to delegates.) |
|
Author |
Create and read items and files, and change and delete items and files that you create. |
|
Nonediting Author |
Create and read items and files, and delete items and files that you create. |
|
Reviewer |
Read items and files only. |
|
Contributor |
Create items and files only. The contents of the folder don't appear. (Does not apply to delegates.) |
|
None |
You have no permission. You can't open the folder. |
