
Setting up your Polycom digital phone
The Polycom digital phone is provided for use with your Cloud Direct VoIP telephone network.
This article describes how to set up your Polycom digital phone. There are two main sections:
- Connecting your phone – covers physical connections.
- Auto-configuring your phone for network use – getting ready for that first phone call.
And a third section, Getting support, just in case you have any questions, or need assistance.
Note:
Once your phone is set up, and connected to your VoIP network, please refer to Cloud Direct knowledge article, KB0010824, Using your Polycom digital phone, for further information.
Connecting your phone
This section shows how to physically connect your Polycom digital phone. It contains the following:
- Front and rear views of your phone
- Your phone's serial number
- Connecting your phone to the network
- Connecting your handset
- Connecting power to your phone
- Adding the base stand to your phone
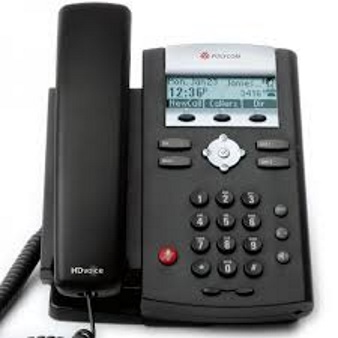
Front and rear views of your phone
Front view.
Rear view.
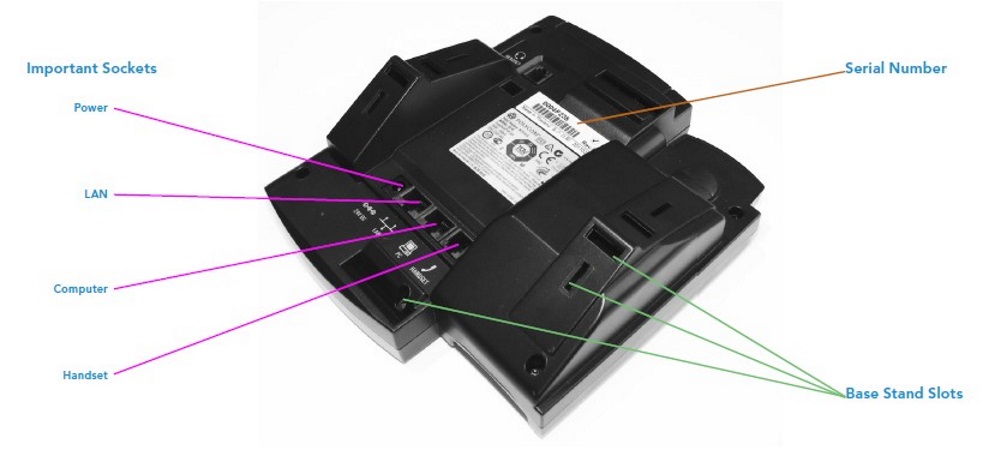
When physically connecting your phone, the rear-view illustration is important, and is referred to throughout this article.
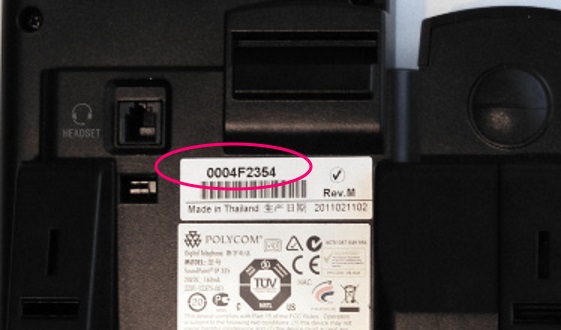
Your phone's serial number
Each phone has a unique 12-digit alphanumeric serial number. Cloud Direct provide you with a list of all your phone's serial numbers. We recommend that you use this list to distribute handsets to your users.
The phone's serial number may be found either on the back of the phone,
or on the side of the box that the phone was packaged in.
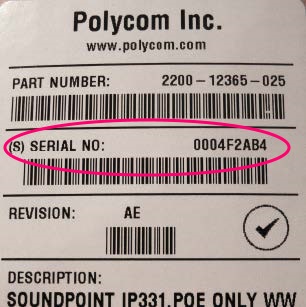
Note:
The serial number always contains 12 digits. However, in the illustrations above, some of the digits have been erased to protect confidentiality.
Connecting your phone to the network
Refer to the rear-view illustration for port/socket locations.
You will need to connect your phone to the internet for it to work. Your internet connection may be directly to your router, to an internet switch, or to a floor port in your premises. To connect to the internet, proceed as follows.
- Connect an Ethernet cable from your router, internet switch, or floor port, into the LAN port on the back of the phone.
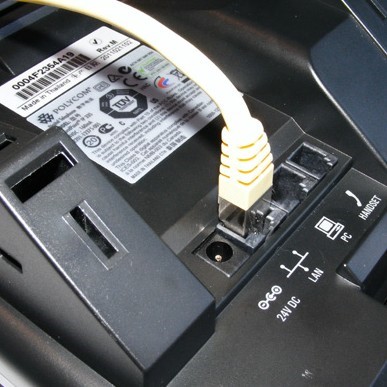
Provided you have sufficient spare ports on your router (or internet switch, or floor port) then this is all you need to do to connect to the interne, and you can now proceed to Connecting your handset. However, if you have only one spare port available on your router, and you need to connect both your computer and your phone to the internet, then proceed to Step 2.
- Plug an Ethernet cable from your router, floor port, or internet switch, into the LAN port on the back of your phone.
- Still on the back of your phone, plug another Ethernet cable into the PC port, and connect this cable to your computer.
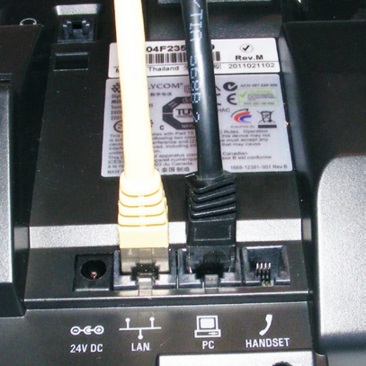
In this example, the yellow cable goes from the phone to the router, and the black cable goes from the phone to the computer. You now have both your phone and your computer connected to the internet.
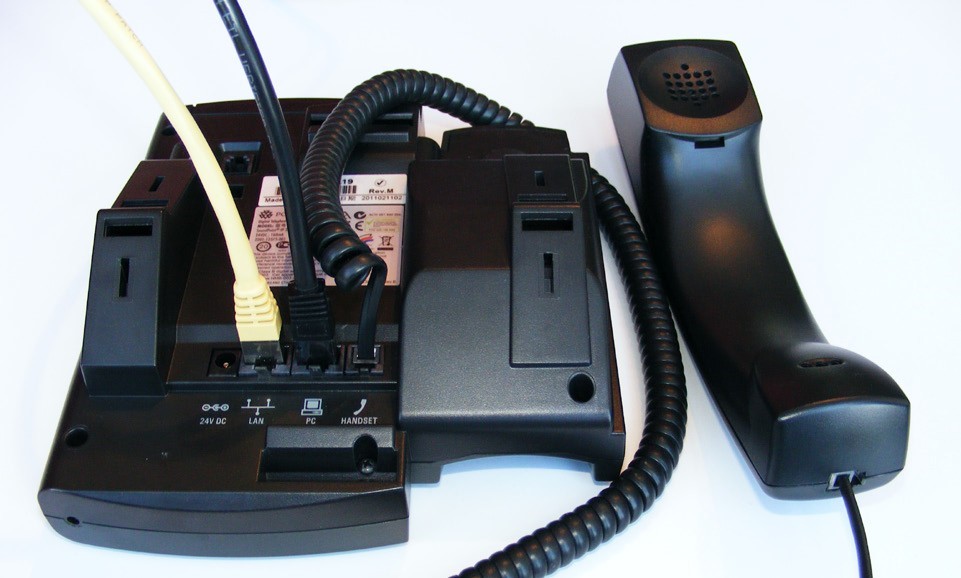
Connecting your handset
Your phone comes with a cable to connect your handset to the base-unit of the phone.
- Connect one end of the cable to the small socket on the bottom of the handset.
- Connect the other end to the Handset socket on the back of the phone.
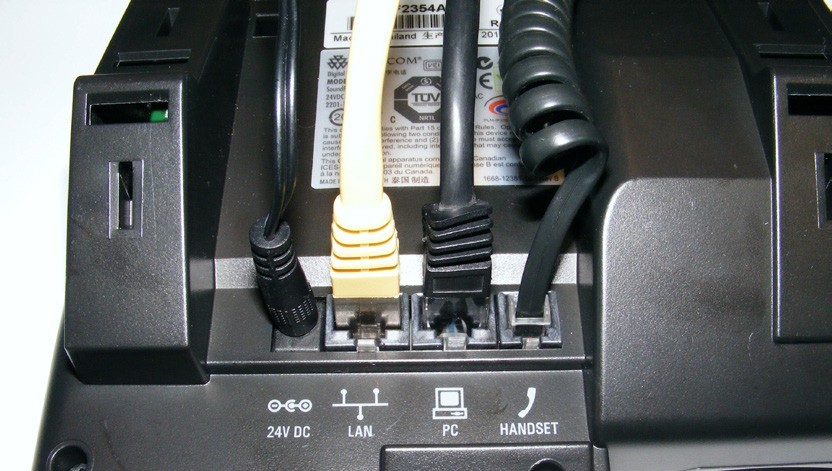
Connecting power to your phone
Your phone may be able to power itself through the Ethernet cable, in which case there is no need for a further power connection. (This can only occur if your router or switch enables this). If not, and you've been supplied with a power supply, then simply plug this into the 24V DC socket on the back of your phone.
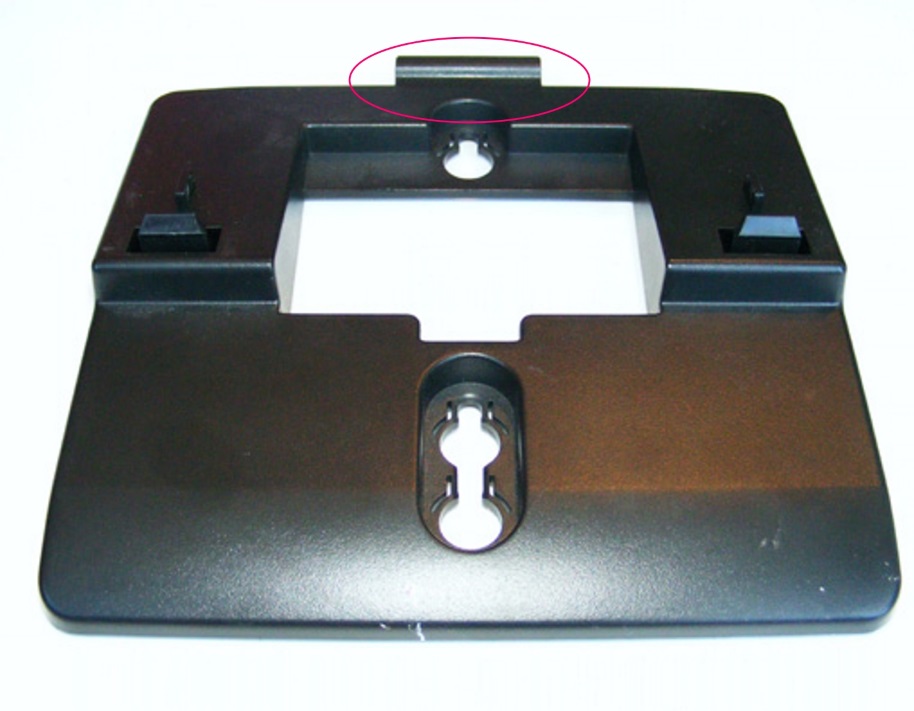
Adding the base stand to your phone
Your phone comes with a base stand that needs to be connected to the back of your phone. Proceed as follows.
- Slot the top tab of the base stand into the slot in the bottom of the unit.
- Clip the rest of the base stand into place.
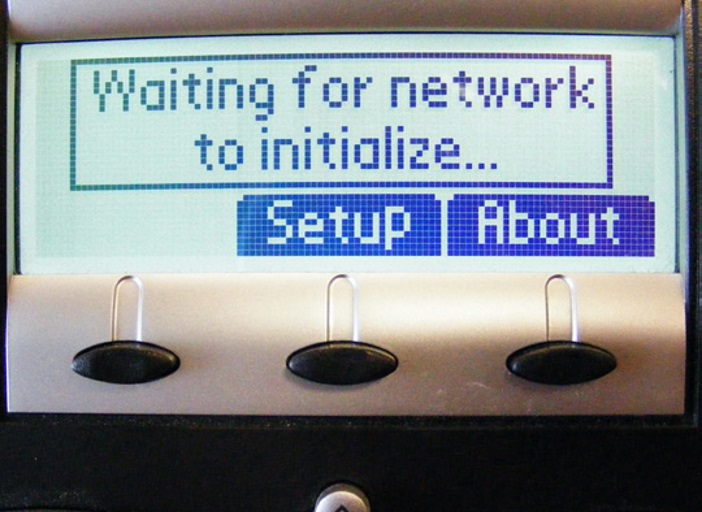
Auto-configuring your phone for network use
Once your phone has an internet connection, and is powered up, it will be automatically start to download a configuration unique to the user. The display screen will look like the illustration below.
Once your phone has downloaded all required settings from the network, it will present a screen
like the one here.
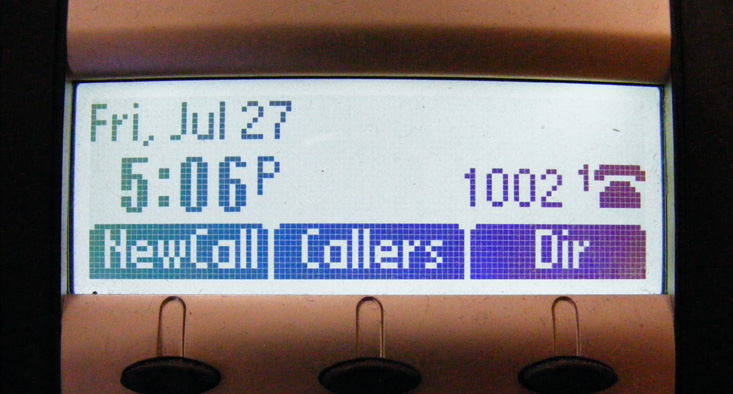
Once this is done, you are free to start making calls!
Getting support
If you have any further questions about installing your phone, please contact Cloud Direct Technical Services on 0800 368 1831, or email TechServices@clouddirect.net.
You can also consult the Cloud Direct knowledge base, which contains further guides and support articles to help you get the most out of your service. Knowledge article, KB0010824, Using your Polycom digital phone, will be particularly useful.
