
Creating an Exchange backup policy
LiveVault backup has the ability to recognize Microsoft Exchange Server 2003 and later, and manage the data as storage groups and databases rather than as generic data files. For Microsoft Exchange 2003 and later, Cloud Direct recommends using Exchange policies to backup and restore your data. You should only use a standard backup policy to back up older editions of Exchange.
This article guides you through the process of creating an Exchange backup policy using the Backup Direct Server Management Service Portal, also known as the LiveVault Portal or Web UI.
Prerequisites
Before creating an Exchange backup policy you must be logged into the LiveVault Portal with appropriate permissions.
Consider the following items when preparing for an Exchange backup:
- Circular logging in the Exchange must be disabled when using the Server Vaulting software's Exchange backup and restore feature.
- For Exchange 2003 and 2007, you can create one Exchange backup policy per server. For Exchange 2010 and later, you can create multiple Exchange backup policies to protect your Exchange data.
- You can create an Exchange backup policy on Active/Passive shared-disk Exchange clusters, but not Active/Active shared-disk Exchange clusters.
Logging in to the LiveVault Portal
To login to the LiveVault Portal,
- Open Internet Explorer.
Note:
The LiveVault Portal is optimised for use with Internet Explorer 10. If using Internet Explorer 11, then ensure your browser is set to compatibility mode
- In the address bar, enter the web portal address https://backupdirect.onlinebackup.com and click return.
The Backup Direct Welcome LOGIN page appears.
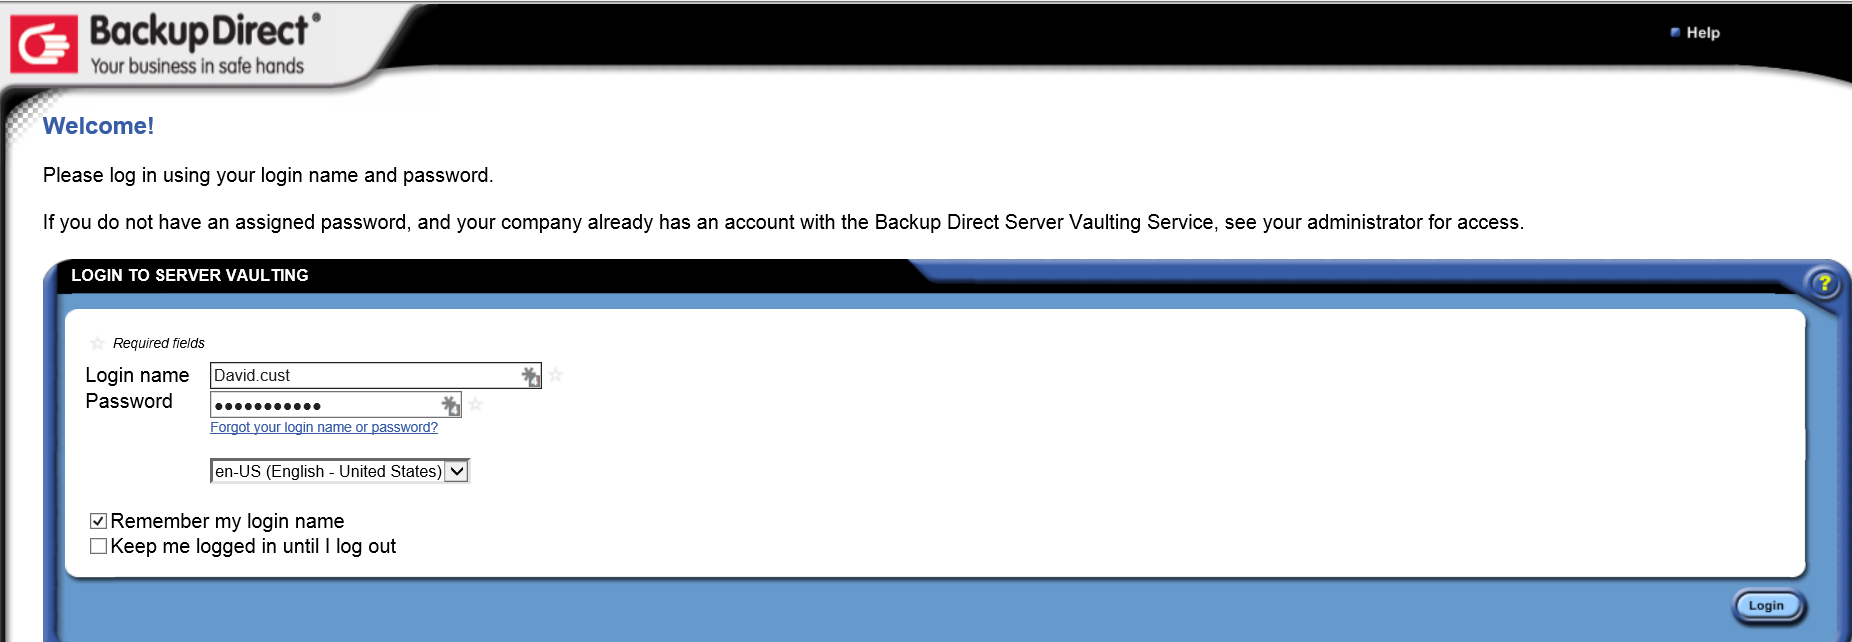
- Enter your login name, which was provided in your registration email.
- Enter your custom password, which you will have created during the registration process.
- Click Login.
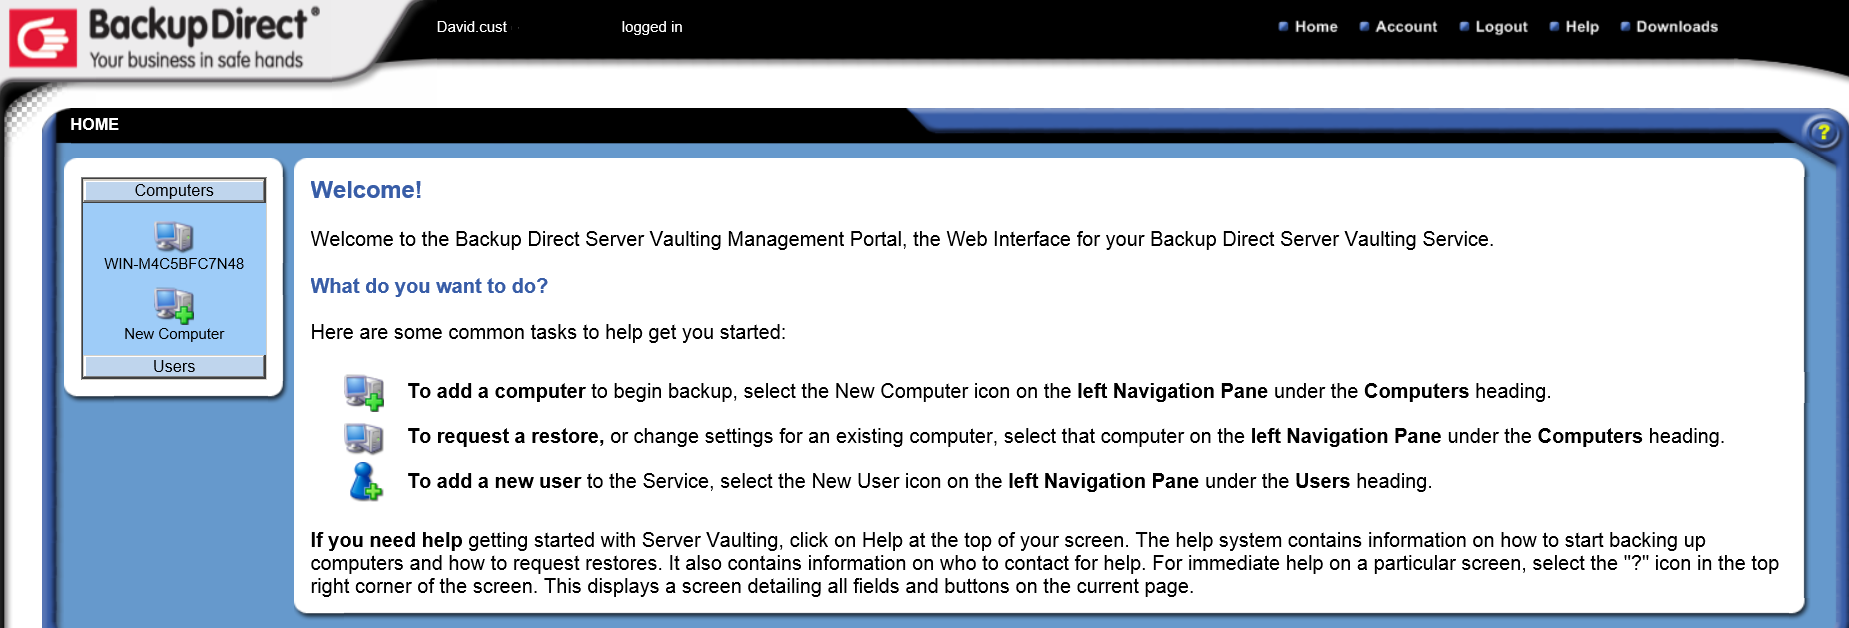
The HOME page for the LiveVault Portal appears.
Creating an Exchange backup policy
To create an Exchange backup policy, first create the policy, then select Exchange objects for backup.
Add a new Exchange backup policy
- In the left hand Navigation Pane, select the computer you want to back up.
- Select the Backup tab.
- On the Backup tab, click add new Exchange Server Policy.
Note: If you know that you have a Microsoft Exchange Server, and the Backup tab is not showing the option to add new Exchange Server Policy, then it may be that the server does not meet minimum requirements. Please contact Cloud Direct Technical Support for assistance.
The Backup Configuration page opens.
- In the New Backup Policy box, type a name for the policy.
Select Exchange objects for backup
- Select the Exchange object(s) you want to back up.
- To select all stores on the Exchange server, select the Exchange server object at the top of the tree.
- To select an individual store or database, expand the tree objects on the left and select the store object on the right.
- Dismounted databases are shown in the tree. However, dismounted databases selected during backup policy creation will be excluded from backup because they cannot be backed up.
Select a schedule for the backup
- Select the Schedule tab.
The Backup Schedule page opens.
- Select a backup schedule from those displayed, or create a custom schedule, if you have the rights to do so.
Note:
Backup schedule options are determined by the level of service to which you subscribed.
Select additional backup options
- Select the Options tab.
The Backup Options page opens.
- Select the retention period for the policy.
Note:
You also can use this tab to perform the following tasks:
- Enter the name of any script that you want to run before or after the backup occurs.
- Temporarily disable this policy.
- Click Next.
Confirm and complete
The Backup Confirmation page opens.
- Review the configuration for the policy.
- Click Done.
The backup policy is created and begins backing up according to the schedule. After a successful backup, the Server Vaulting service indicates the completion status to the Exchange VSS writer. This initiates the truncation and purge of the Exchange transaction logs. On an Exchange DAG configuration, the truncation of logs may be delayed until they are replicated to all nodes of the DAG.
