
Reinstalling the LiveVault agent on Windows
If a problem occurs with the LiveVault agent software, it may be necessary to re-install the program. The re-install process is essentially an uninstall followed by an install. This article describes the procedure to re-install LiveVault agent software.
Uninstall the LiveVault agent
The procedure to uninstall the LiveVault agent software from a Microsoft Windows server differs slightly depending on the version of Windows. Administrator permission may be required. If you're prompted for an administrator password or confirmation, type the password or provide confirmation.
To uninstall the LiveVault agent software on a Windows server, follow the procedure below for your version of Windows:
- Navigate to the Control Panel.
- From the Programs category, choose Uninstall a Program.
The Uninstall or Change a Program window appears, listing your currently installed programs.
- Locate LiveVault and click the associated Uninstall button. Note that this button may be called the Uninstall/Change button.
- When Windows asks whether you're sure, click Yes.
Install the LiveVault agent
This section describes how to download and install the LiveVault service software onto a computer running Microsoft Windows.
Log in to the LiveVault Portal
To login to the LiveVault Portal,
- Open an internet browser, such as Internet Explorer.
- In the address bar, enter the web portal address https://backupdirect.onlinebackup.com and click return.
The Welcome LOGIN page appears.
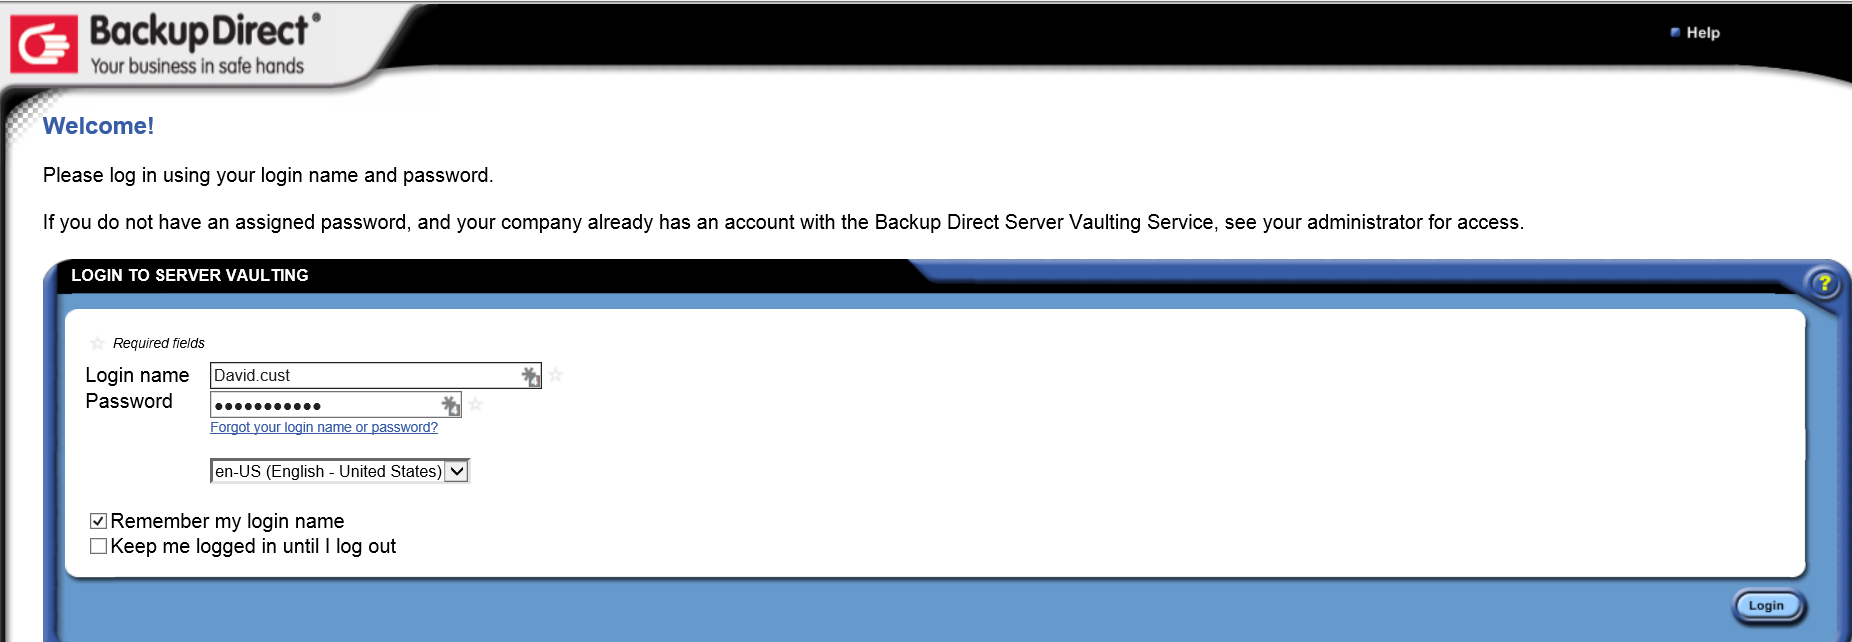
- Enter your Login name, which was provided in your registration email.
- Enter your Password, which you will have created during the registration process.
- Click Login.
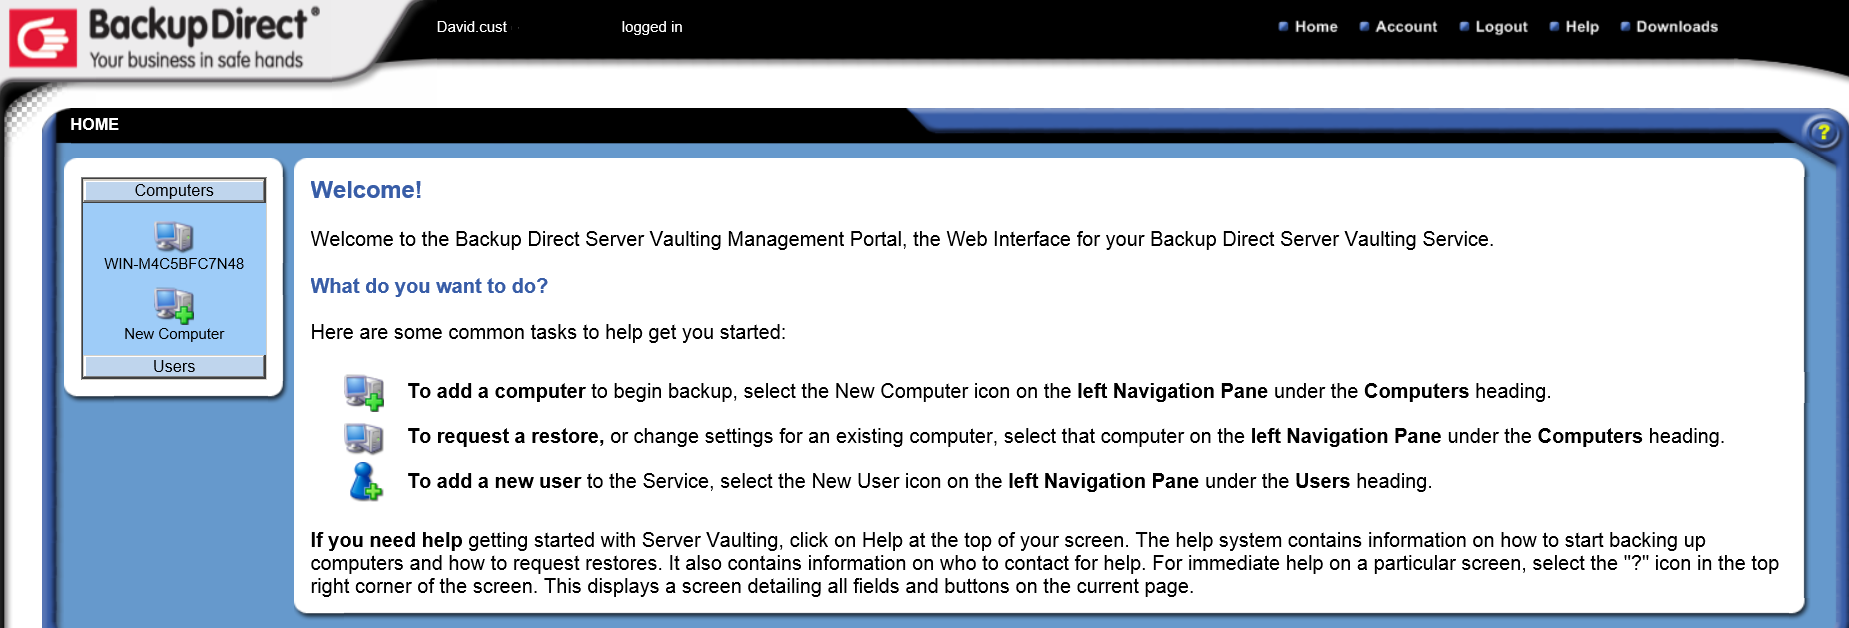
The home page for the LiveVault Portal appears.
Download and install the service software
- In the LiveVault Portal, select Downloads from the top menu bar.
The DOWNLOADS page opens.
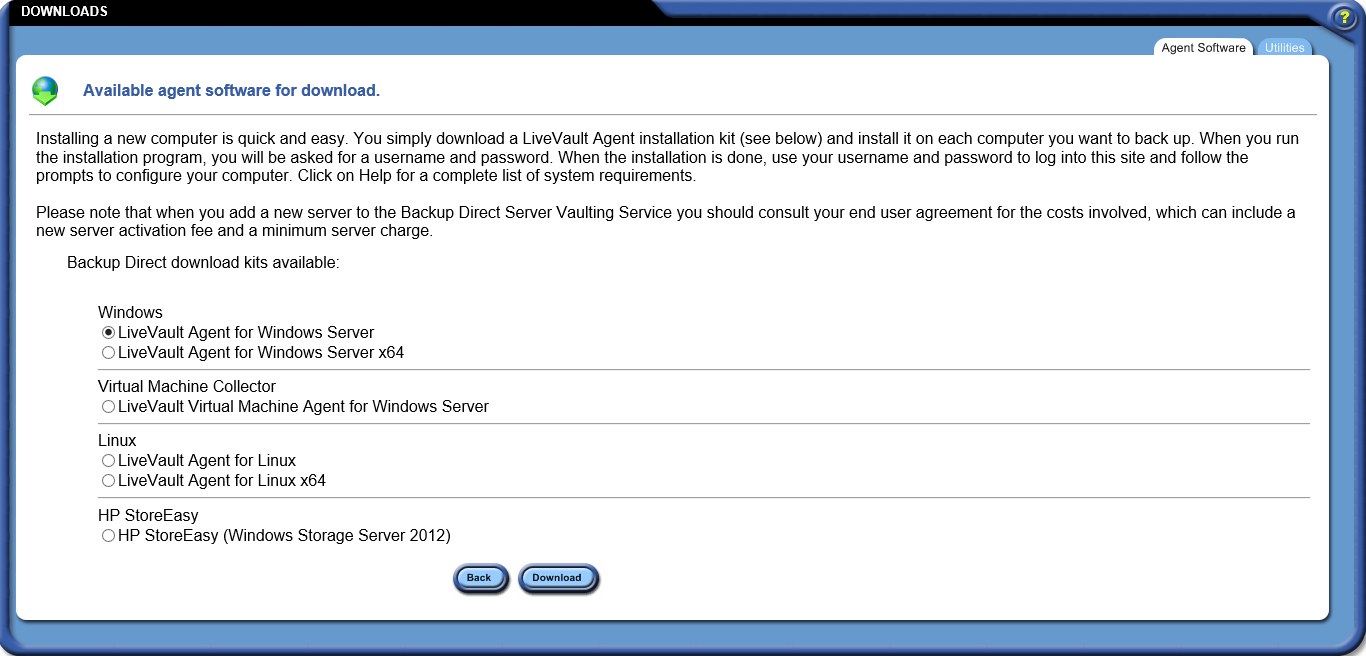
- From the list of download kits available, select the required download kit.
Note:
You cannot install the 64-bit agent on a 32-bit machine. Likewise, you cannot install the 32-bit agents on a 64-bit machine
- Click Download.
A message appears, asking if you want to run or save your download.exe file.
- Click Run to continue the installation process now. Alternatively click Save to save the software to a specified location. You can then begin the installation process later by starting the executable you downloaded.
- When the installation begins, accept the license agreement, and click Next.
- Choose the default installation location for the software, or click Change to change the destination for the software and for the backup database files.
The installation defaults to the volume with the greatest amount of free space as the location for the backup database files, as follows: <x:\>\LiveVaultdata, where x:\ is the volume letter.
Note:
Cloud Direct recommends you select a location other than your root drive for the backup database files. The backup database files can grow to consume a lot of space, depending on the number of backup policies you create and the amount of data you are backing up. The volume for the LiveVault data directory should optimally have at least 5 GB free disk space.
Cloud Direct recommends you install the data directory to a NTFS or ReFS formatted volume on Windows Server 2012.
Important: Do not select a Windows 2012 volume optimized for data deduplication for the location of the data directory.
- Click Next.
- Click Install to install the software.
The LiveVault agent software is now installed. See LiveVault knowledge article, "Creating a new computer (server) account" for information on provisioning and configuring the software in preparation for backup.
