
Delegating someone else to manage your mail and calendar
Similar to having an assistant help you manage your incoming paper mail, you can use Microsoft Outlook to allow another person, known as a delegate, to receive and respond to meeting requests or responses and to send e-mail messages on your behalf. You can also grant additional permissions that allow your delegate to read, create, or have full control over items in your Exchange mailbox.
Delegate Access is most commonly used between a manager and his or her assistant, where the assistant (delegate) is responsible for processing the manager's incoming meeting requests or e-mail messages and coordinating the manager's schedule. This is the scenario that this article assumes, however, Delegate Access can also be used between peers.
Delegate Access is a more advanced feature than just sharing your Outlook folders. If you want to grant additional permissions, such as allowing a delegate the ability to create e-mail messages or respond to meeting requests on your behalf, you must use Delegate Access. If you wish only to share Outlook folders then refer to, KB00111004, Sharing an Outlook calendar.
As the person granting permission, you determine the level of access that the delegate has to your folders. You can grant a delegate permission to read items in your folders or to read, create, change, and delete items. By default, when you add a delegate, the delegate has full access to your Calendar and Tasks folders. The delegate can also respond to meeting requests on your behalf. If you want to allow the delegate to see all of the messages in your Inbox, you must grant additional permissions. Instructions for granting permissions are included in the Turning on Delegate Access section. If you grant someone access to your Exchange folders, then that person has access to all items in the folders except those marked Private. Instructions for allowing delegates to view Private items are included in the Choosing items that can't be viewed by a delegate section. Items in subfolders are not available to the delegate unless you change the sharing permissions on the subfolder or you create a new subfolder. New subfolders inherit the folder access permissions of the parent folder.
Note:
This feature requires you to use a Microsoft Exchange Server 2000, Exchange Server 2003, or Exchange Server 2007 account. Most home and personal accounts do not use Microsoft Exchange.
Note:
As the manager, your mail must be delivered to your mailbox on the Exchange server, not to a Personal Folders file (.pst) on your computer. You and the delegate must use the same version of Office Outlook.
Send on Behalf
Send on Behalf may be set up by an Office 365 user.
When a delegate has Send on Behalf permissions, the delegate can compose an e-mail message and enter the manager's name in the From box. Recipients of the e-mail message will see the text Delegate Name on behalf of Manager Name next to From.
Send As
Send As may be set up only by an Exchange or Microsoft Windows administrator.
There is an advanced Exchange feature that allows one or more people to be granted Send As permissions for another Exchange mailbox. Send As allows someone to send a message as if he or she is the owner of the mailbox. Send As permissions can be used with or without Delegate Access. When Send As permissions are enabled, the recipient will see only the manager's name next to From. This scenario is more common where there is a shared Exchange mailbox, such as a staff member who sends e-mail messages to customers from a shared Exchange mailbox and not his or her own Exchange account. See, Setting Send As permissions (administrator only), later in this article for instructions of how to set up the Send As option.
This article focuses primarily on how to set up Delegate Access: Send on Behalf. It contains the following sections:
- Turning on Delegate Access
- Changing or removing permissions for your delegate
- Choosing items that can't be viewed by a delegate
Turning on Delegate Access
A delegate automatically receives Send on Behalf permissions. This means your delegate can do the following:
- Respond to a meeting request sent to you, the manager.
- Receive meeting request responses sent to you, the manager.
- Compose and send an e-mail message that, when received, will have Delegate Name on behalf of Manager Name next to From.
By default, the delegate can read only the meeting requests and responses sent to the manager. The delegate does not have access to read any other messages in your Inbox.
To turn on Delegate Access, proceed as follows.
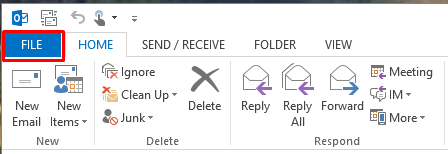
- From within Outlook, click the FILE tab.
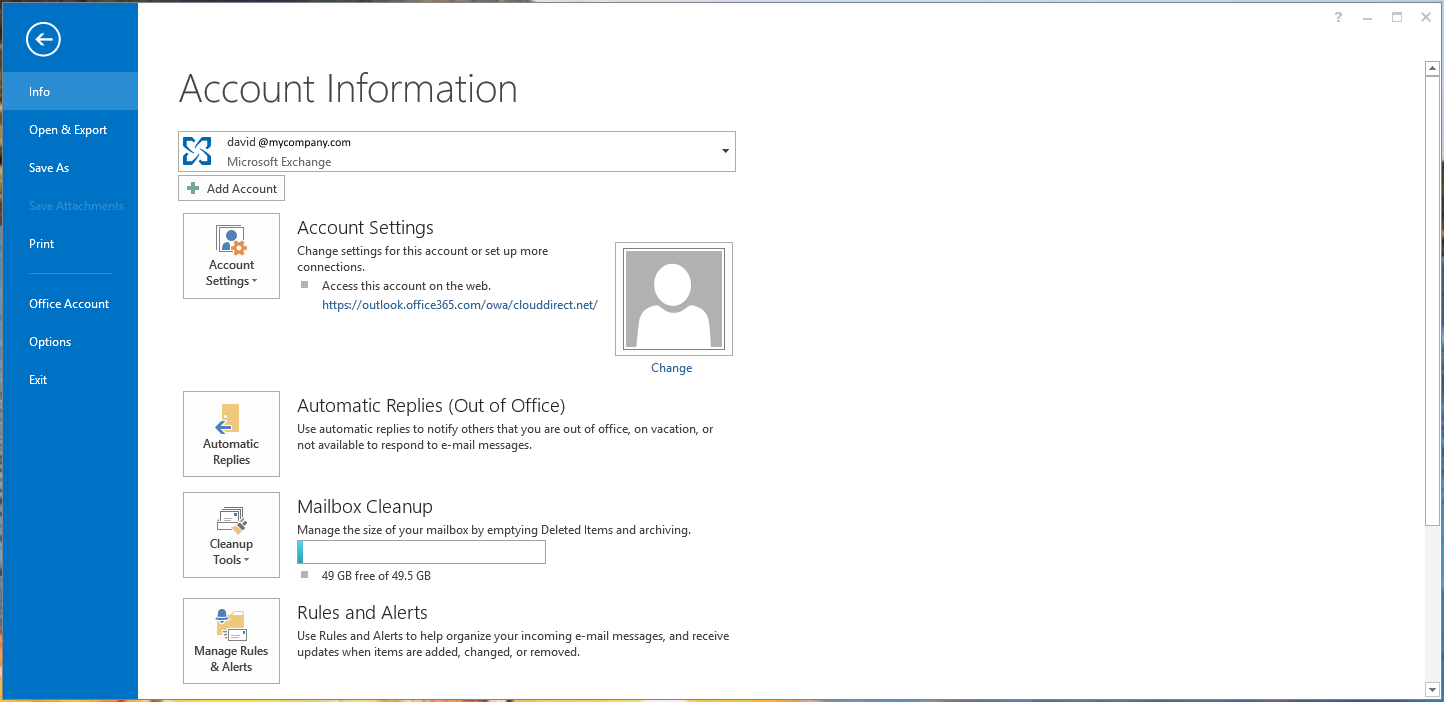
The Account Information page opens.
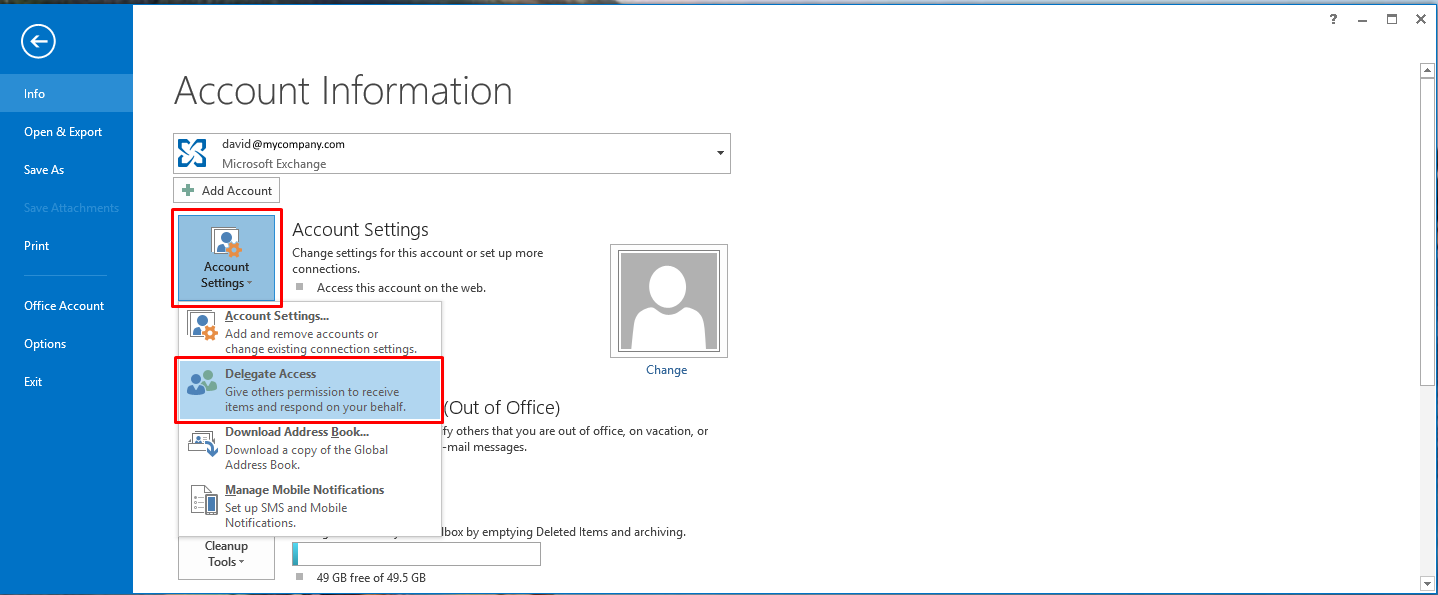
- Click, Account Settings, then click, Delegate Access.
The Delegates dialog box opens.
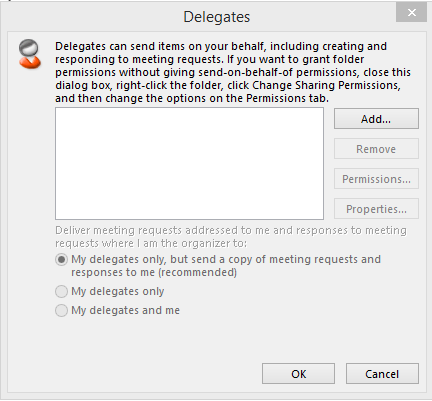
- Click, Add.
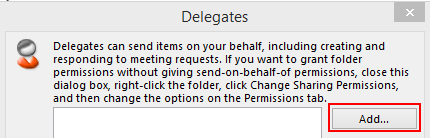
The Add Users, address list opens.
- Double-click the name of the delegate in the address list, then click OK.
Note:
The delegate must be a person in the Exchange Global Address List.
The Delegate Permissions dialog box opens.
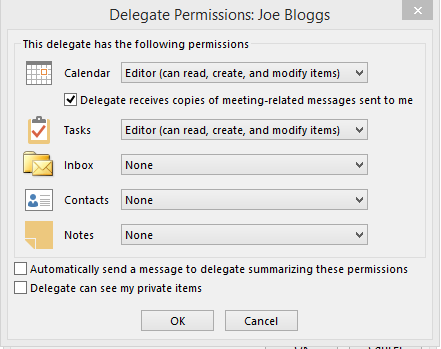
- In the Delegate Permissions dialog box, you can accept the default permission settings or use the drop-down option boxes to select custom access levels for Exchange folders. Each option box enables selection of one of the following delegate permission levels; Reviewer, Author, or Editor.
- Reviewer - With this permission, the delegate can read items in the manager's folder.
- Author - With this permission, the delegate can read and create items, and modify and delete items that you create. For example, a delegate can create task requests and meeting requests directly in the manager's Task or Calendar folder and then send the item on the manager's behalf.
- Editor - With this permission, the delegate can do everything that an Author has permission to do and additionally can modify and delete the items that the manager created.
If a delegate needs permission to work with meeting requests and responses only, the default permission settings, including Delegate receives copies of meeting-related messages sent to me, is sufficient. You can leave the Inbox permission setting at None. Meeting requests and responses will go directly to the delegate's Inbox.
Note:
By default, the delegate is granted Editor (can read, create, and modify items) permission to your Calendar folder, because after the delegate responds to the meeting on your behalf, the meeting is automatically added to your Calendar folder.
- To send a message to notify the delegate of the changed permissions, tick the, Automatically send a message to delegate summarizing these permissions check box.
- If you want, tick the, Delegate can see my private items check box.
Caution:
This is a global setting that affects all of your Exchange folders, including all Mail, Contacts, Calendar, Tasks, Notes, and Journal folders. You cannot allow access to private items in only one folder.
- Click OK to return to the Delegates dialog box, then click OK again.
Note:
Messages sent with Send on Behalf permissions include both the delegate's and manager's names next to From. (When a message is sent with Send As permissions, only the manager's name appears).
Changing or removing permissions for your delegate
To change or remove permissions for your delegate, proceed as follows.
- Follow Step 1 and Step 2 of Turning on Delegate Access.
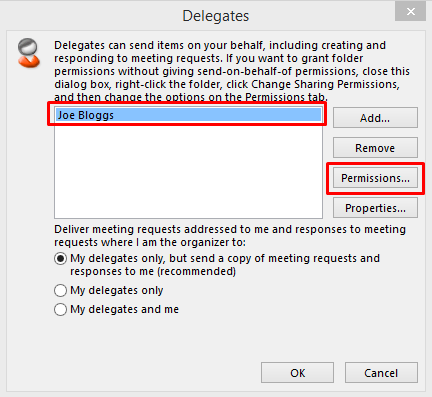
- On the Delegates dialog box, click the name of the delegate for whom you want to change permissions, and then click Permissions.
Note:
If you want to remove all Delegate Access permissions, click Remove and skip the remainder of these steps.
The Delegate Permissions dialog box opens.
- In the Delegate Permissions dialog box, you can change the permissions for any Outlook folder that the delegate has access to. See Step 5 to Step 7 of Turning on Delegate Access.
- Click OK to return to the Delegates dialog box, then click OK again.
Note:
If you want copies of meeting requests and responses that you receive to be sent to a delegate, make sure the delegate is assigned, Editor (can read, create, and modify items) permission to your Calendar folder, and then tick the, Delegate receives copies of meeting-related messages sent to me check box.
Choosing items that can't be viewed by a delegate
If you have given permissions to a delegate so that he or she can access your Outlook folders, you can hide personal information in appointments, meetings, tasks, and contacts.
To hide personal information, you must mark the item as Private, and then deny delegate access to Private items.
Caution:
You should not rely on the Private feature to prevent other people from accessing the details of your appointments, contacts, or tasks. To make sure that other people cannot read the items that you marked as private, do not grant them Reviewer (can read items) permission to your Calendar, Contacts, or Tasks folder. A person who is granted Reviewer (can read items) permission to access your folders could use programmatic methods or other e-mail programs to view the details of a private item. Use the Private feature only when you share folders with people whom you trust.
Marking an item Private
To mark an item as Private, then proceed as in the following example:
- Right-click an item on your calendar.
- From the subsequent Options list, click Private.
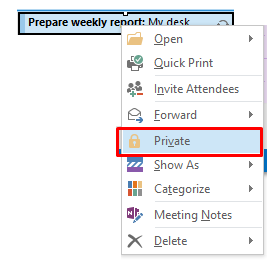
A small padlock now appears against the calendar item indicating it is Private.

Denying a delegate access to Private items
If you don't want a delegate to see your Private items, then do the following:
- Follow Step 1 and Step 2 of Turning on Delegate Access.
- On the Delegates dialog box, click the name of the delegate for whom you want to deny permission to see your private appointments, and then click Permissions.
The Delegate Permissions dialog box opens.
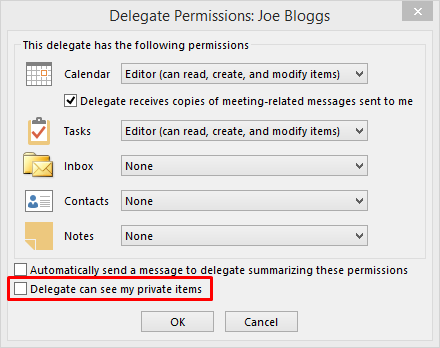
- Un-tick the, Delegate can see my private items check box.
Granting a delegate access to Private items
If you want a delegate to see your private items, then do the following:
- Follow Step 1 and Step 2 of Turning on Delegate Access.
- On the Delegates dialog box, click the name of the delegate for whom you want to give permission to see your private appointments, and then click Permissions.
The Delegate Permissions dialog box opens.
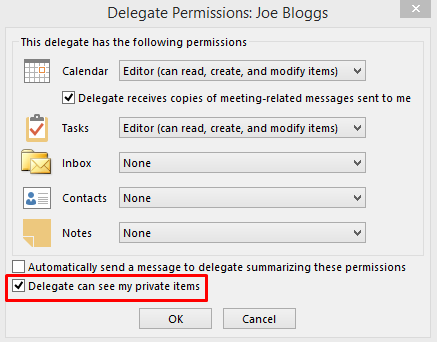
- Tick the, Delegate can see my private items check box.
Setting Send As permissions (administrator only)
There is an advanced Exchange feature that allows one or more people to be granted Send As permissions for another Exchange mailbox. Send As allows someone to send a message as if he or she is the owner of the mailbox. Send As permissions can be used with or without Delegate Access. When Send As permissions are enabled, the recipient will see only the manager's name next to From. An Exchange or Microsoft Windows administrator must configure this option. This scenario is more common where there is a shared Exchange mailbox, such as a staff member who sends e-mail messages to customers from a shared Exchange mailbox and not his or her own Exchange account.
To set up Send As permissions, the administrator should proceed as follows.
- In Microsoft Windows Server 2003, open Active Directory Users and Computers.
- On the View menu, click Advanced Features.
- Under the domain node, click Users.
- Open the user account that you want to add Send As permissions to.
- On the Security tab, click Add.
- In the Enter the object names to select box, type the display name or user name of the person to whom you want to grant Send As permissions. Multiple users can be added by separating each entry with a semicolon.
- Click OK.
- In the Permissions list, click Send As, and then select the Allow check box.
Tip:
To determine whether a delegate has Exchange Send As permissions or only Outlook Delegate Access Send on Behalf permissions, ask the delegate to create a new message and send it to his or her own e-mail account. Make sure the delegate enters the name for the other mailbox in the From box, for example, the manager's name. When the message is received, if both names appear in the From box along with the text "on behalf of," the delegate has only Outlook Delegate Access Send on Behalf permissions.
