
Removing Office suite software
If you need to remove your Office suite software, perhaps because you're replacing your computer, then this article will take you through the necessary steps.
To remove your Office 365 suite software then you must complete a full uninstall. This is usually carried out using the Windows Control Panel.
Uninstall using the Windows Control Panel
To uninstall Office 365 suite software using the Control Panel in Windows 8.1, proceed as follows.
With Windows open on your desktop,
- Click the Start button, in the bottom left hand corner of the window.

- The Start window opens.
- Type, Control Panel, then click the Control Panel icon in the right hand Search panel.

The Control Panel opens.
Note:
If using other versions of Windows, the steps to open the Control Panel may differ. For example, in Windows 7, or Vista; click, Start > Control Panel. The Control Panel layout looks slightly different in different versions of Windows.
The Control Panel window opens.
- In the Control Panel window, click, Programs and Features.
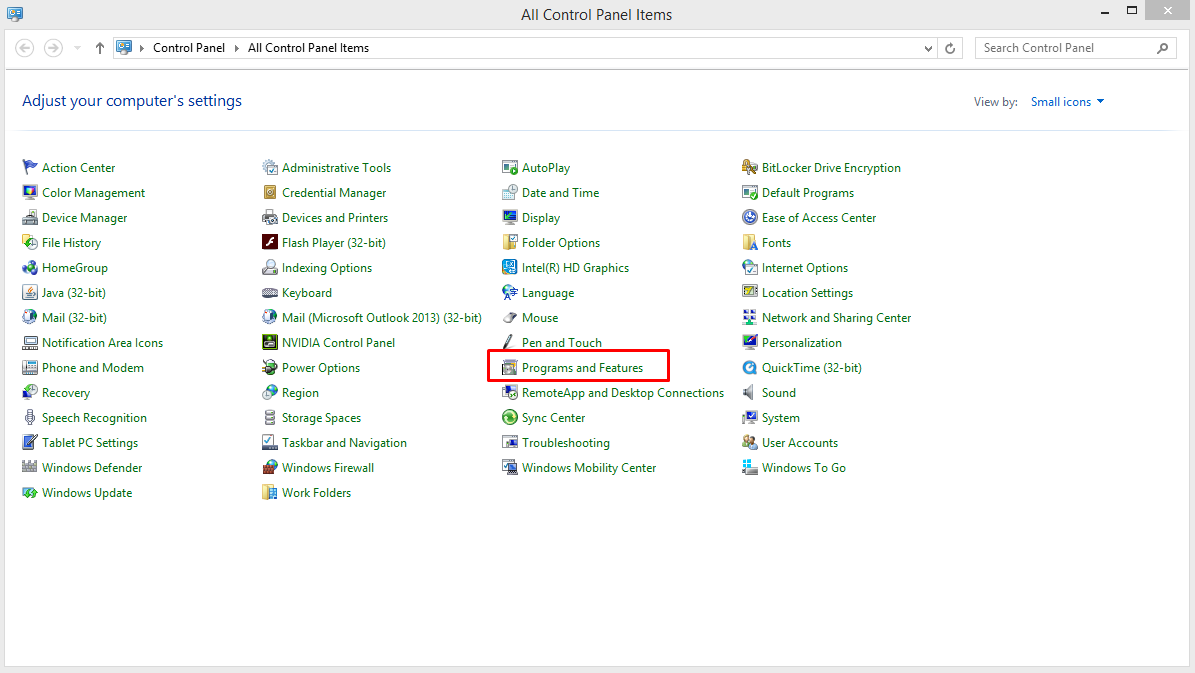
The Uninstall or change a program window opens.
- Locate, then double-click, your Microsoft Office 365 program.
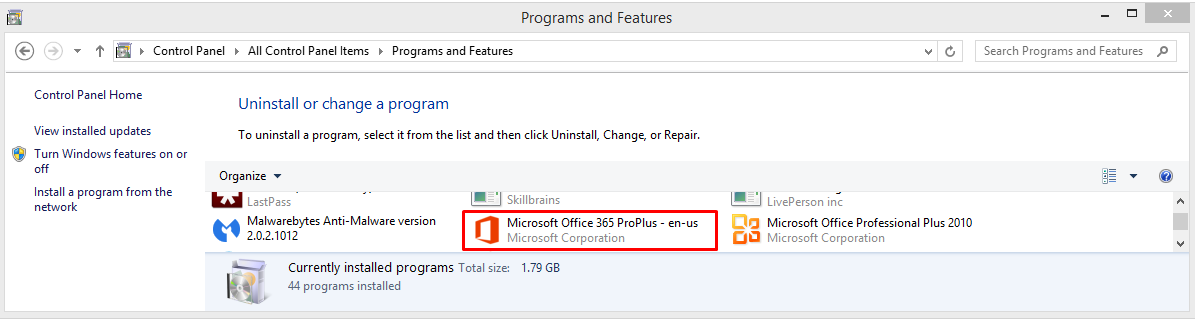
The Ready to uninstall dialogue box appears.
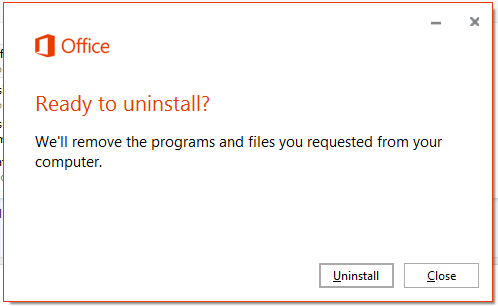
- Click, Uninstall.
Note:
If you have any Office applications running then the following message appears, indicating which applications need to close.
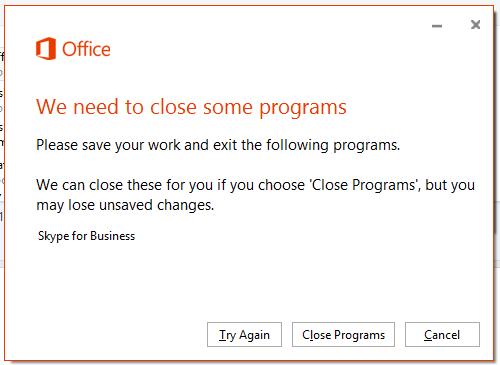
Click, Close Programs, to close the applications. After a short wait, the applications are closed.
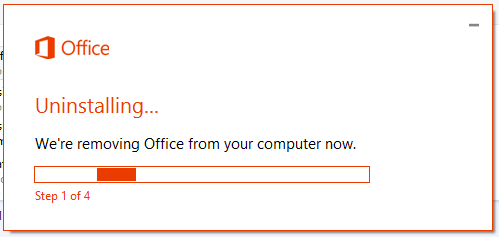
The Uninstalling message box appears, while Office is removed from your computer.
After a wait of possibly a few minutes, the install is completed and the following message box appears.
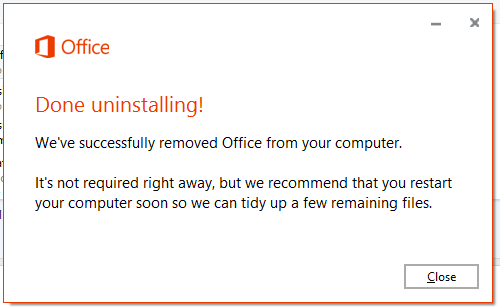
- Click, Close.
The Office program has been removed from your computer, and is no longer present in the list of installed programs in the Uninstall or change a program window.
There are a few remaining files to be tidied when you next restart your computer.
