
Saving email attachments to SharePoint
Email attachments saved to SharePoint are instantly shared with all other SharePoint users, so enabling closer collaboration with colleagues on documents.
It is not possible to drag and drop email attachments directly into SharePoint, but they may still be saved in SharePoint by other means. This article explains how to save email attachments to SharePoint in two stages:
- First, save the attachment to a synced OneDrive folder.
- Then, upload the attachment from OneDrive into SharePoint.
Prerequisites
- Your SharePoint site administrator must have first set up the specific SharePoint library sync with OneDrive on your local system.
- If the email attachment you wish to save is in pdf format then, in order to save to OneDrive, you must have the latest version of Adobe Acrobat Reader installed on your computer. This may be obtained freely from https://get.adobe.com/uk/reader/.
Saving an email attachment to OneDrive
To save an email file attachment to OneDrive, proceed as follows.
- In Windows Explorer, locate the synced OneDrive folder.
Note:
Cloud Direct recommend creating a sub-folder, within your synced OneDrive folder, called "Uploads". The Uploads folder can then be used when saving future email attachments to SharePoint via OneDrive.

- Save the file attachment to the Uploads folder.
Note:
To save the attachment, use either:
"Drag-and-drop" from Outlook, or,
Within Outlook, right-click on the attachment icon, select Save As (or Save All Attachments if required), then browse to the Uploads folder and click Save.
Note if saving a pdf file:
If you have already opened a pdf attachment, and then select Save As from within Adobe Acrobat Reader, you may not see the synced OneDrive folder. In this case, close the document, return to the email, and select Save As by right clicking on the attachment icon.
The file attachment is saved in the OneDrive Uploads folder, and may now be uploaded to SharePoint.
Uploading a file from OneDrive to SharePoint
To upload a file from OneDrive to SharePoint, proceed as follows.
- Within SharePoint, open the folder where you want to save the file to.
- Click Upload, then click Files.
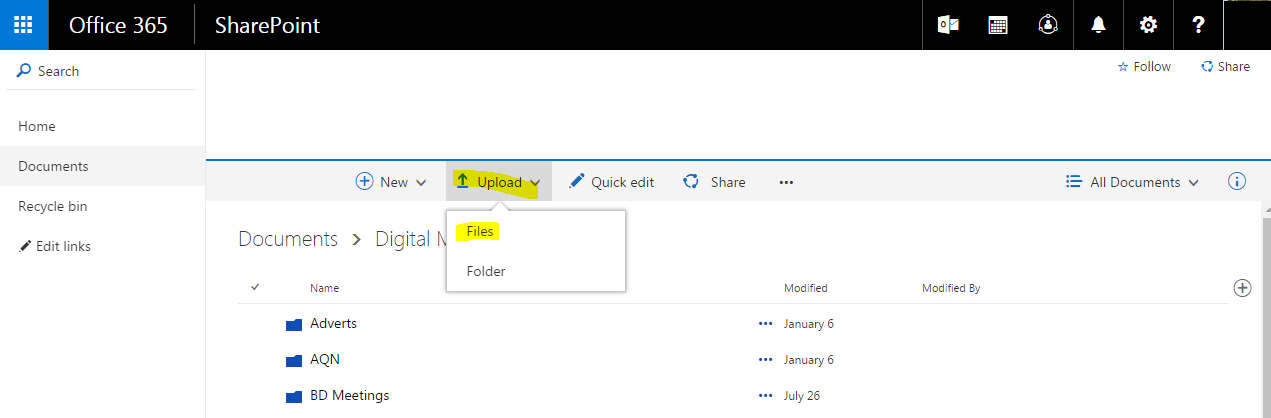
Note:
If you are using Internet Explorer as your browser then you will not see the Files or Folders option. Simply click Upload.
The Add a document dialogue box appears.
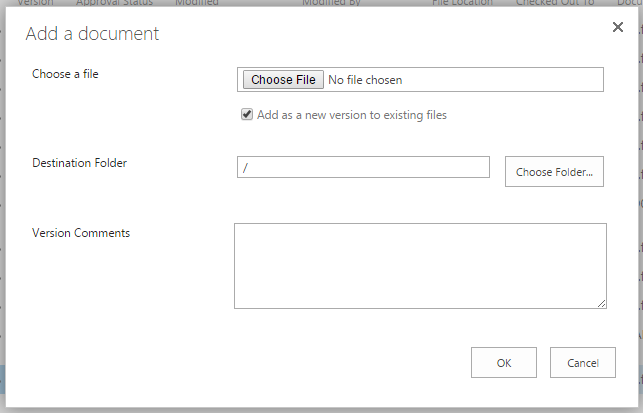
- Click Choose File, then browse to the Uploads folder in OneDrive and select the file to upload.
Note:
Leave the Destination Folder textbox untouched, and the file will be uploaded to the current folder by default.
- Click OK.
The file is uploaded into SharePoint and may now be shared with all other SharePoint users.
