
Checking network settings on your Polycom phone
When required, your Polycom phone automatically downloads configuration details from a Provisioning Server. Programmed into your phone (either manually, or by the phone provider as it leaves the factory) are the settings the phone needs to contact the Provisioning Server. It's important that your phone contains the correct contact settings.
This article shows how to check and, if necessary change, the phone settings associated with connecting to the Provisioning Server. In addition, the article shows how to check your phone's SNTP setting and, if DHCP is enabled on the network, how to check that DHCP is enabled on your phone.
Note:
If you are experiencing issues with your Polycom phone, and suspect the network settings, then we recommend you contact our Technical Services team on 0800 368 1831, or email TechServices@clouddirect.net, to discuss the problem before beginning this task.
Checking Provisioning Server settings
To check your phone's Provisioning Server settings, proceed as follows.
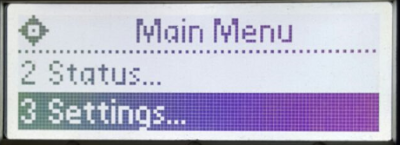
- Press the Menu button on the front panel of your Polycom phone.
The screen displays the Main Menu.
- Select Settings.
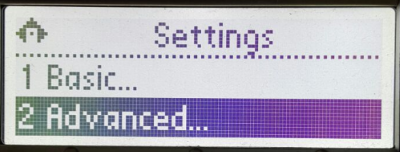
The Settings menu appears.
- On the Settings menu, select Advanced.
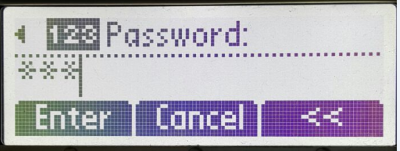
A Password screen appears
- Type in your phone Administrator password (456), then press Enter.
Caution:
This is your phone's Administrator password. Do not change this password. If you change the password, and then require assistance, Cloud Direct may not be able to help.
The Advanced menu appears.
- From the Advanced menu, go to Admin Settings > Network Config > Provisioning Server.
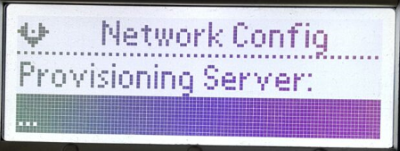
- Step through the options on the Provisioning Server screen and check the following:
- The Server Type is HTTPS.
- The ServerAddr is soundpoint.yourservices.co.uk.
- There is nothing in the Server User option.
- There is nothing in the Server Password option.
Note:
It is quite possible that your settings may differ from those shown, but your phone still works fine, at the moment. However, any attempt to download configuration data will fail as it will be unable to contact the Provisioning Server.
- If necessary, change the settings, and click Yes when prompted to confirm your changes.
Checking SNTP address setting
Simple Network Time Protocol (SNTP) ensures time synchronisation in the network. It is important to ensure that you select the correct network timing source for SNTP.
- Go back to the Network Config menu (You can do this by twice pressing the left arrow on the navigation pad).
- Make sure that the SNTP address is set to europe.pool.ntp.org.
Note:
Some configurations have SNTP address set as uk.pool.ntp.org. This is equally correct, and does not need changing.
Additional check, if DHCP enabled on the Network
If DHCP is enabled on the Network, then check to confirm that your phone also has DHCP enabled. (DHCP is generally enabled by default on your phone).
To check if DHCP is enabled on your phone, proceed as follows.
- Repeat Step 1 to Step 4 of the previous procedure, to reach the Advanced menu.
- From the Advanced menu, go to Admin Settings > Network Config > Ethernet Menu.
- On the Ethernet Menu screen, check that DHCP is Enabled.
