


Managing Datto Workplace user accounts
An individual Datto Workplace user account contains settings that determine what resources and permissions are available to that user. For example, each user (Member) is allocated a data storage limit which is part of the overall Team storage allocation. Though individual Member storage limits may be increased, it's important that the administrator manages these changes within the boundaries set by the company subscription and plan.
The Datto Workplace administrator can manage user accounts by editing individual Member details on the Edit Member page.
This article describes how an administrator may edit the following Datto Workplace account details for a Member.
Changing storage limit
To change the storage allocation limit on an Datto Workplace Member account, the account Administrator should proceed as follows,
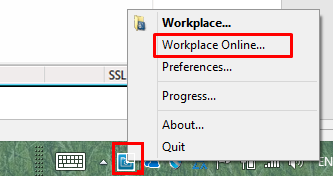
- Log in to Workplace Online, by right-clicking on the Datto Workplace system tray icon, and selecting Workplace Online from the menu.
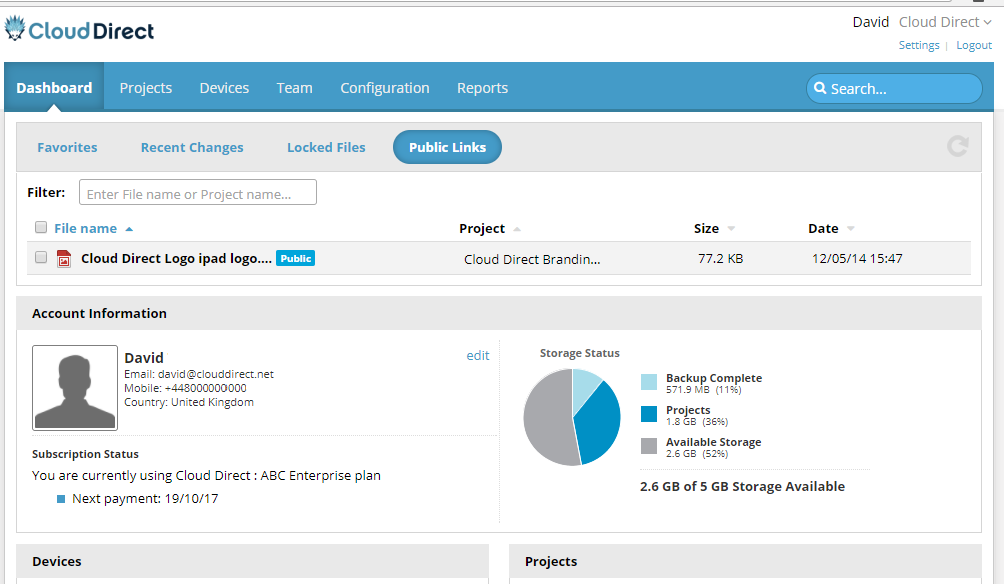
Workplace Online opens on the Dashboard page.
- Click the Team tab.
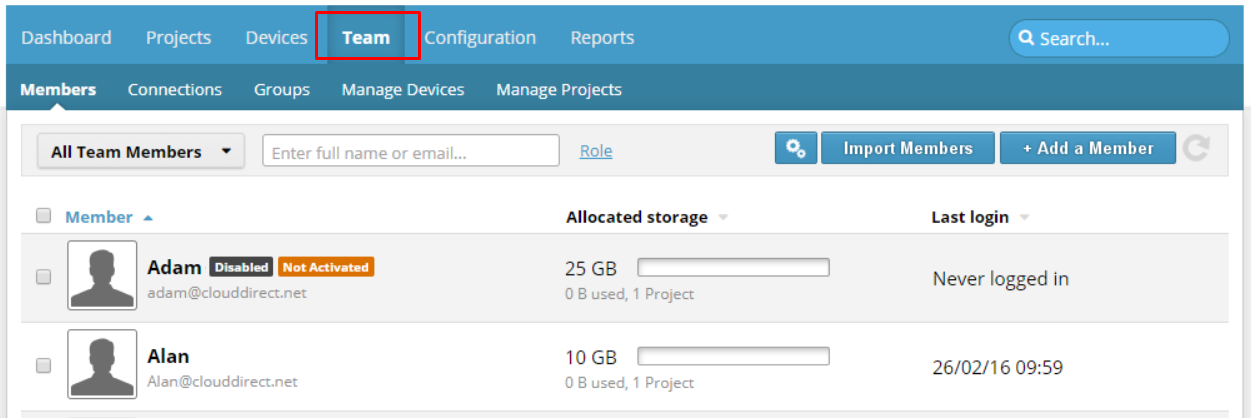
- From the list of accounts on the Members sub-tab, click on the account to change.
The Edit page opens for the chosen account.
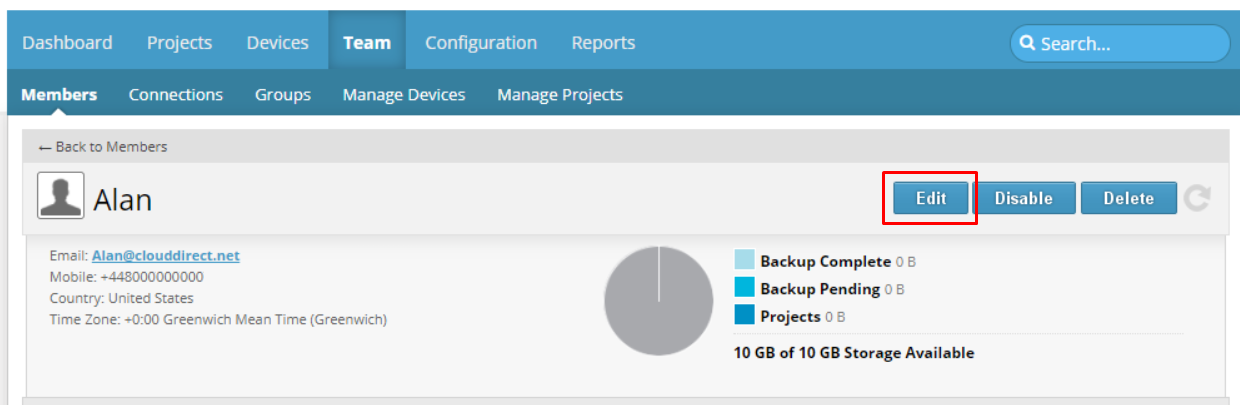
- Click the Edit button.
The following screen appears. Note that the total available Team Storage is also indicated on this page. You cannot exceed this total under the conditions of your current package.
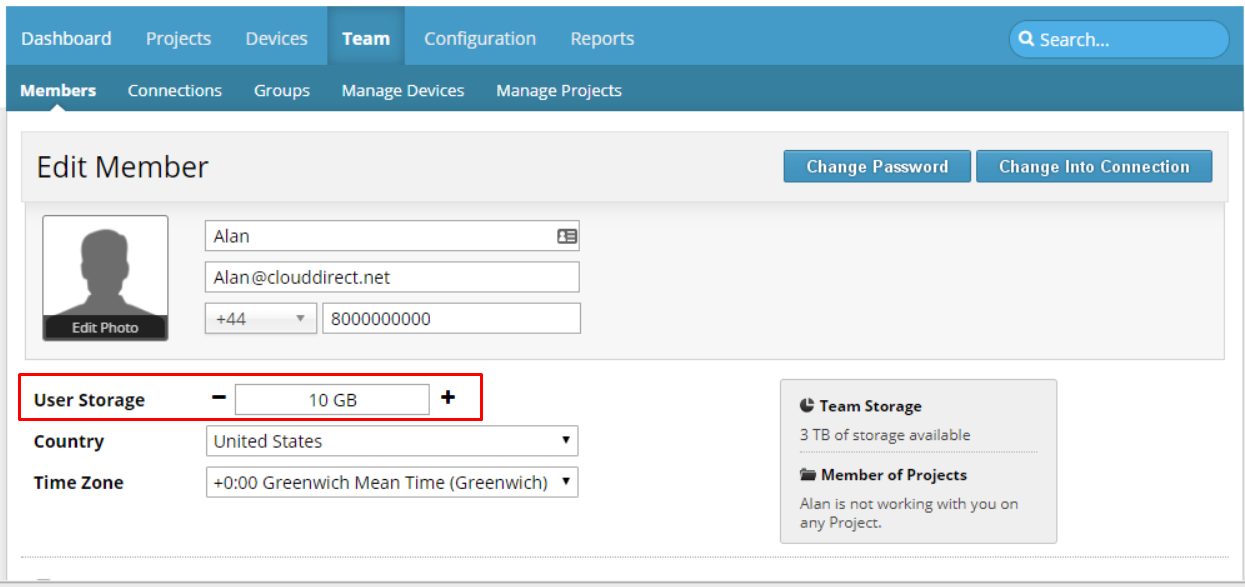
- Click on the – or + icons at each side of the User Storage box, to decrease or increase the allocated storage limit for this Member.
Note:
You can only allocate storage up to your package limit. Any changes you make here will affect the amount of additional storage available for other Member accounts, but will not affect your bill. If you wish to increase your overall Team Storage limit then contact your account manager.
- Scroll to the bottom of the page and click UPDATE.
The storage allocation is changed for this account.
Changing permissions
The Edit Member page allows changes to be made to Member permissions.
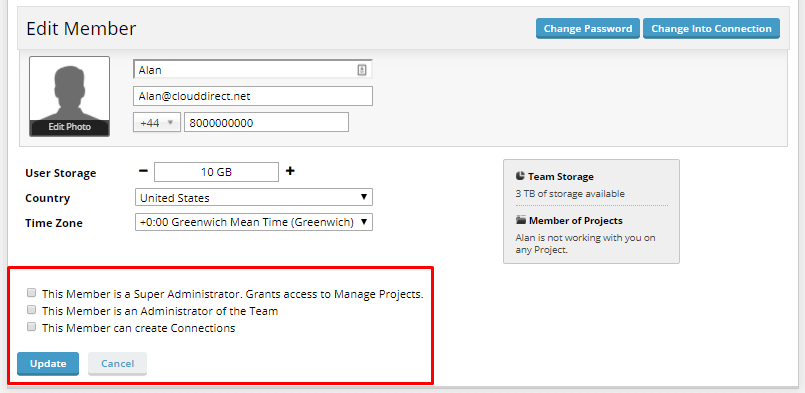
- Grant Super administrator privileges (this option only available if you are a Super Administrator)
- Tick the This Member is a Super Administrator checkbox to allow this Member to grant access to manage Projects.
- Grant administrator privileges
- Tick the This Member is an Administrator of the Team checkbox to grant this Member administrator privileges.
- Allow the Member to create Connections
- Tick the This Member can create Connections checkbox to allow this Member to create Connections.
When all required changes have been made to permissions, click the UPDATE button at the bottom of the page.
Changing personal details
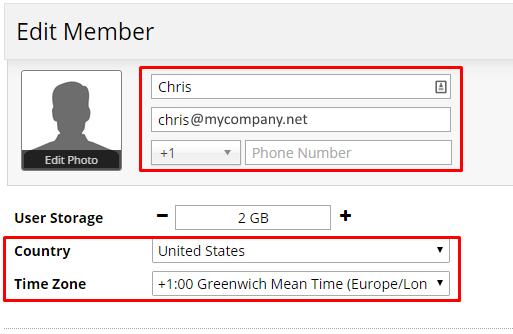
From the Edit Member page, the administrator may edit a Member's personal details, such as name, email address, and phone number. In addition, the Member's location may be edited by selecting Country and/or Time Zone from the required drop-down options.
When all required changes have been made, click the UPDATE button at the bottom of the page.
Changing password
If a Member should forget his/her password, or require a password change, then the administrator can enter a new password as follows.
- In the top right-hand corner of the Edit Member page, click the Change Password button.
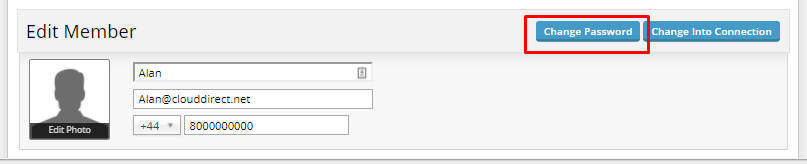
The Change Password dialogue box appears.
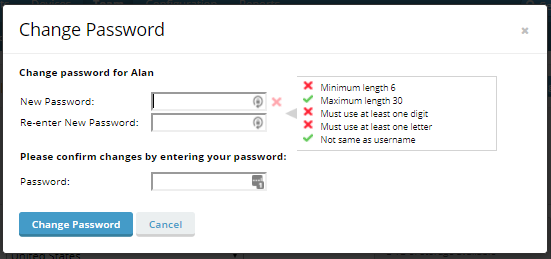
- In the New Password textbox, enter a new password for the Member. This must be between 6 and 30 characters.
- In the Re-enter New Password textbox, enter the new password again.
- In the Password textbox, enter your own password, to confirm the changes.
- Click Change Password.
The password is changed.