


Reinstalling Datto Workplace
Datto Workplace (DWP) (previously known as Autotask Workplace) replaced Cloud Direct: ABC in October 2017. Although the migration generally went smoothly, there were one or two issues. Many of these issues were resolved by completing a full reinstall of the DWP agent.
This article shows how to carry out a full reinstall of the DWP agent.
Caution:
This article requires the removal of unwanted entries from your computer's Registry. Any work in the Registry, and hence the reinstall procedure, should be completed only by a competent IT professional. If you would prefer to have assistance, please don't hesitate to contact Cloud Direct Technical Services on 0800 368 1831, or email TechServices@clouddirect.net.
The Datto Workplace agent reinstall procedure requires the following steps:
These steps are explained in this article.
Prerequisites
Before commencing this procedure, the following prerequisites are required:
- Local administrator permissions for the computer requiring a reinstall.
Uninstall DWP
To uninstall the DWP agent, proceed as follows.
- Click the DWP icon in your system tray and, from the menu options, click Quit.
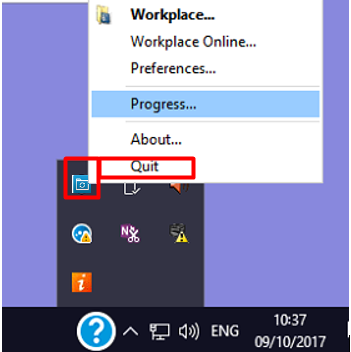
This stops the DWP sync application.
- Go to Windows Control Panel > Programs and Features.
- Highlight Datto Workplace, and click Uninstall.

The DWP agent is uninstalled.
Clean-up
Two workstation records must be cleared before reinstalling the DWP agent. This is done by renaming the two associated directories with a ".old" suffix. New, "clean" directories will be established with the new install.
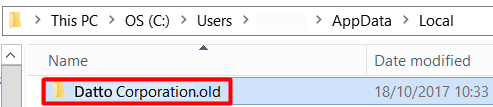
- Rename the following directories to ".old"
|
Existing directory name |
Rename to |
|
C:\Users\%USERNAME%\AppData\Local\Datto Corporation |
C:\Users\%USERNAME%\AppData\Local\Datto Corporation.old |
|
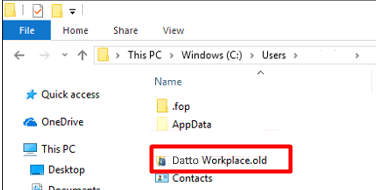
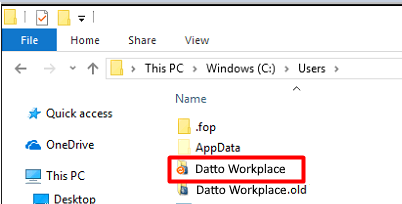
C:\Users\%USERNAME%\Datto Workplace |
C:\Users\%USERNAME%\Datto Workplace.old |
Note:
Renaming directories to ".old" ensures no data is lost upon reinstallation/sync of DWP.
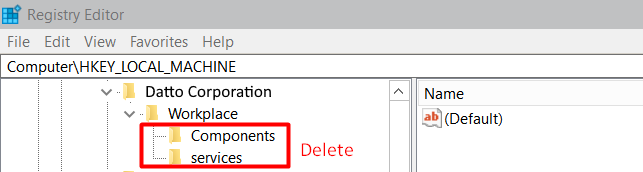
- Open the Registry Editor, and delete the following registry entries.
- In HKEY_LOCAL_MACHINE\SOFTWARE\Wow6432Node\Datto Corporation\Workplace, delete Components, and services.
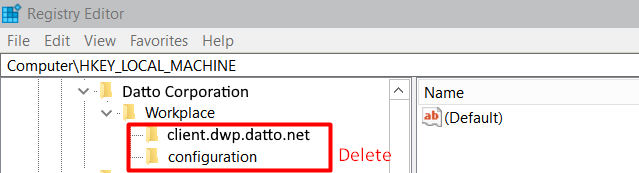
- In HKEY_CURRENT_USER\Software\Datto Corporation\Workplace, delete client.dwp.datto.net, and configuration.
- In Computer\HKEY_CURRENT_USER\Software\Soonr, delete everything except the DI folder.
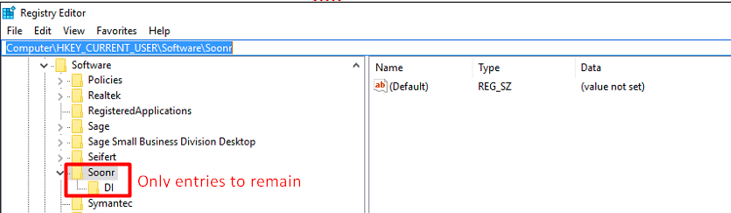
Note:
Soonr is a legacy registry entry associated with Cloud Direct: ABC.
Download and install DWP
To download and install the DWP agent, proceed as follows.
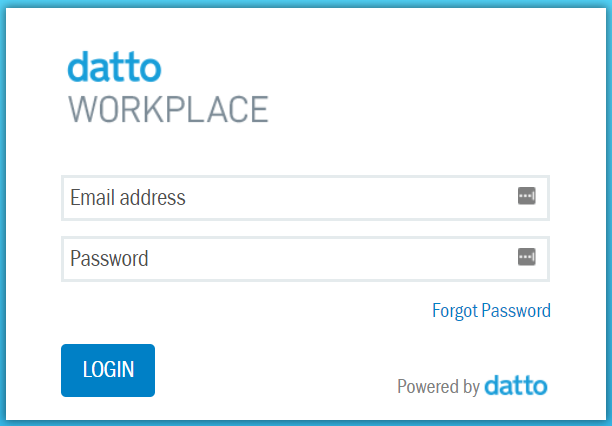
- Go to the DWP login page at eu.workplace.datto.com/login.
- Click on the DOWNLOAD link, located underneath the LOGIN button, to download installation file
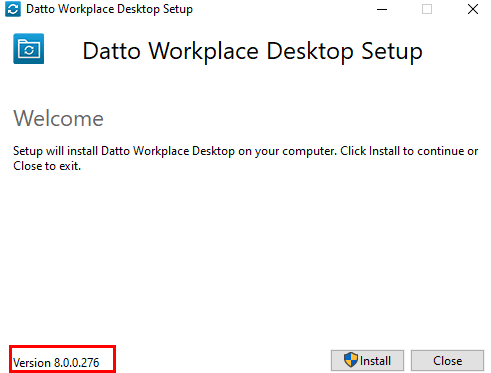
- Once downloaded, follow the Datto Workplace Setup wizard, and install the DWP application.
Note:
The DWP agent version is shown in the bottom left-hand corner of the display.
- When the agent is installed, sign-in to the DWP Desktop Sync Application.
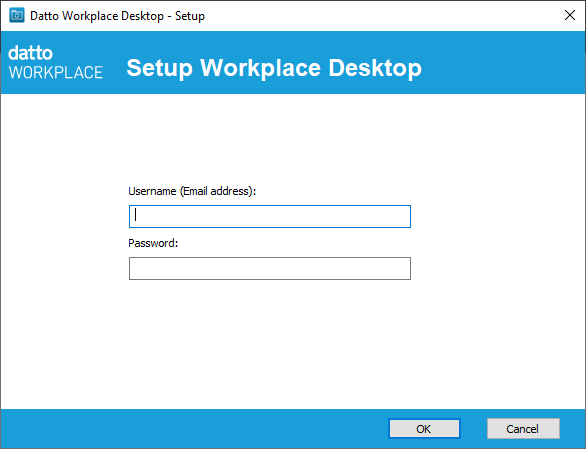
Once your credentials are authenticated, a fresh sync starts.
Check successful syncing
To check that Datto Workplace is syncing correctly, proceed as follows.
- In your system tray, right click on the DWP icon and, from the menu options, click Progress.
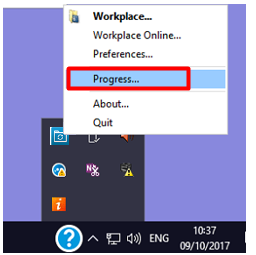
The Progress page appears, open on the Project Sync tab. This shows how inbound and outbound sync is progressing. When finished, both should show Complete.
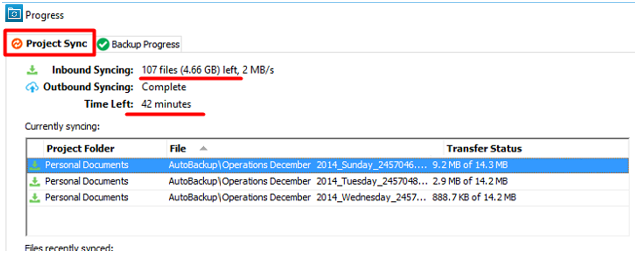
Note:
Following the reinstallation, all project data will sync anew on the workstation. The amount of data, and the line speed, will determine how long this process takes to complete.
A new Datto Workplace directory (located next to the legacy Datto Workplace.old directory) will contain the newly synced data.
Note:
Folders and files in DWP display a green tick on the associated icon to indicate a successful sync.
With the reinstall complete, and Datto Workplace successfully syncing, there should be no further problems. However, if you're still experiencing problems, please contact Cloud Direct Technical Services on 0800 368 1831, or email TechServices@clouddirect.net.