
Restoring a LiveVault backup using a Media Restore Server
This article details the procedure to restore a backup using a Media Restore Server (MRS). This procedure is used after you have ordered and received an MRS from LiveVault.
Note:
For further information regarding ordering an MRS, see knowledge article, KB0011545, Ordering a LiveVault media Server (MRS).
An MRS is used for temporary storage of backup versions. The backup data is replicated from the offsite data storage vaults to the MRS. The MRS device is then shipped to the customer site. Once the customer is finished restoring their needed data, the MRS is returned to LiveVault (within two weeks). Customers using an MRS can dramatically reduce the data recovery times by having onsite as well as offsite backup versions available.
Prerequisites
Before beginning this task, the user must be logged into the LiveVault portal.
Restoring a LiveVault backup using an MRS
When an MRS device is shipped to you, you must attach the device to your network. When the MRS is attached and started up, you can begin restoring files from it. The Restore Wizard guides you through requesting a restore. If an MRS is attached to your network, then the device is shown as an option in the Restore Wizard. The Restore Request page lets you select files to restore, and offers restore options.
Please see the Troubleshooting section at the end of this article if you encounter any of the following difficulties associated with the restore procedure:
- If your network does not support DHCP.
- If the restore job does not launch, and shows a progress bar on the Restore tab.
To restore data from an MRS, proceed as follows,
Starting from the LiveVault portal Welcome HOME page,
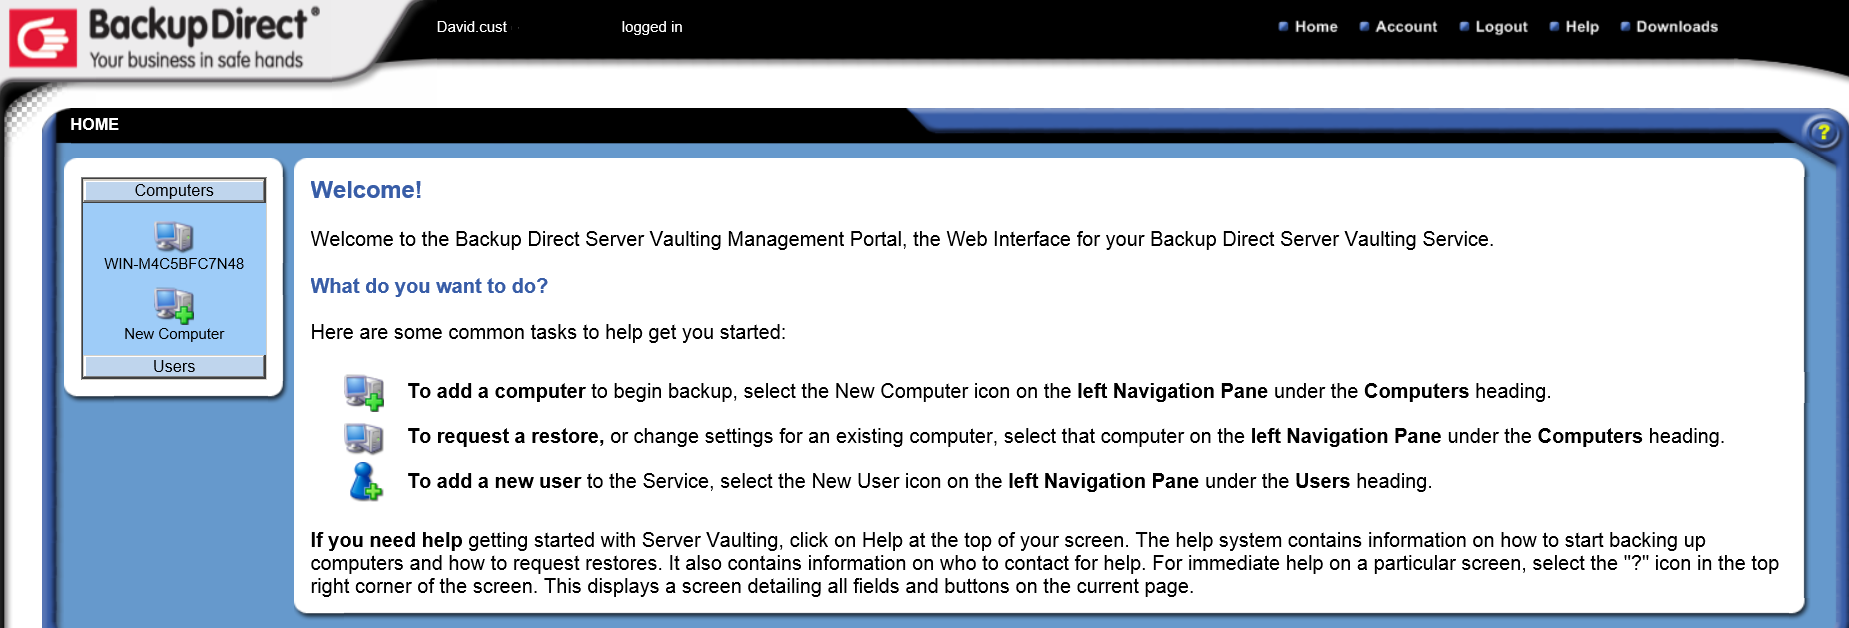
- In the left hand navigation pane, In the Computers section, select the required computer.
The Home page for the LiveVault portal opens.
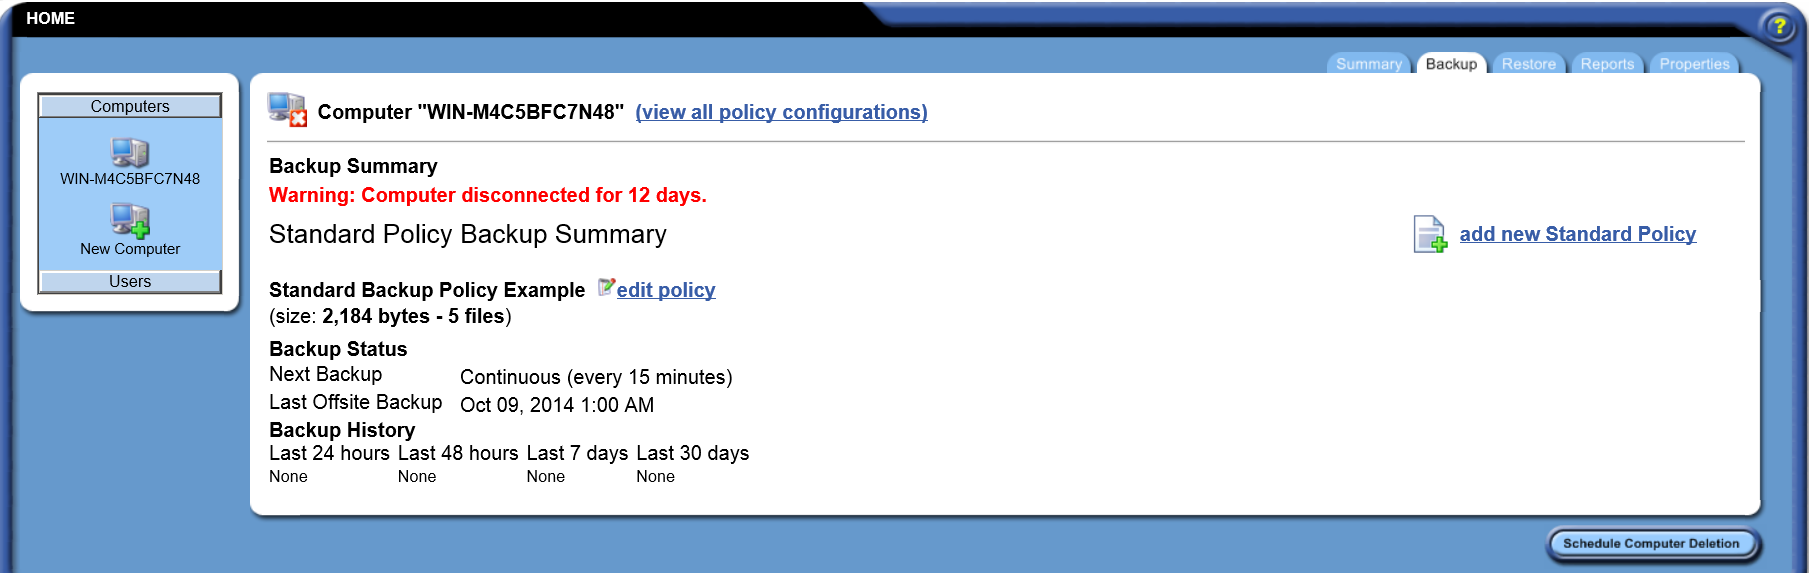
- Select the Restore tab.
- Click New Restore.
The Restore Wizard page opens.
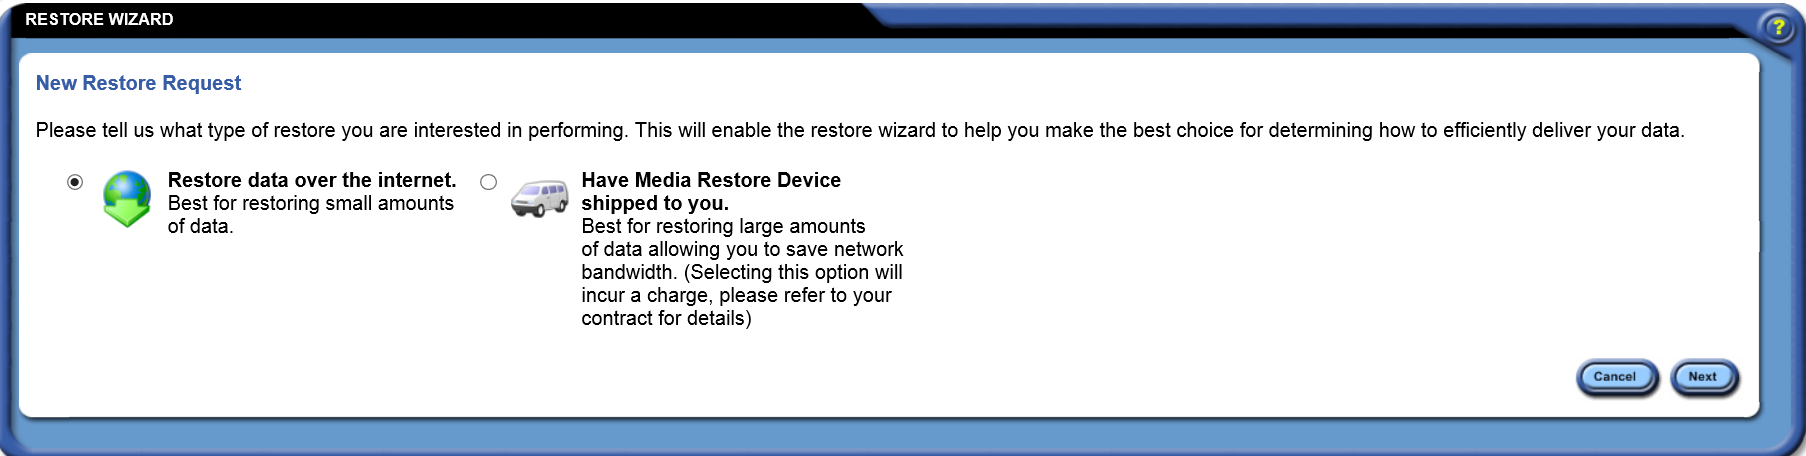
The restore device attached to your network appears as the last option on the list.
- Select the restore device.
- Click Next.
The Restore Request page opens.

The Restore Request page has two tabs:
- The Selection tab lets you browse or use rules to select the files to restore.
- The Options tab lets you handle file overwrite situations, restore to a different computer than the files were backed up from, specify system state restore, and schedule the restore
- Select files to restore, and selected restore options.
- Click Next.
The Restore Request for <computer> confirmation page opens.
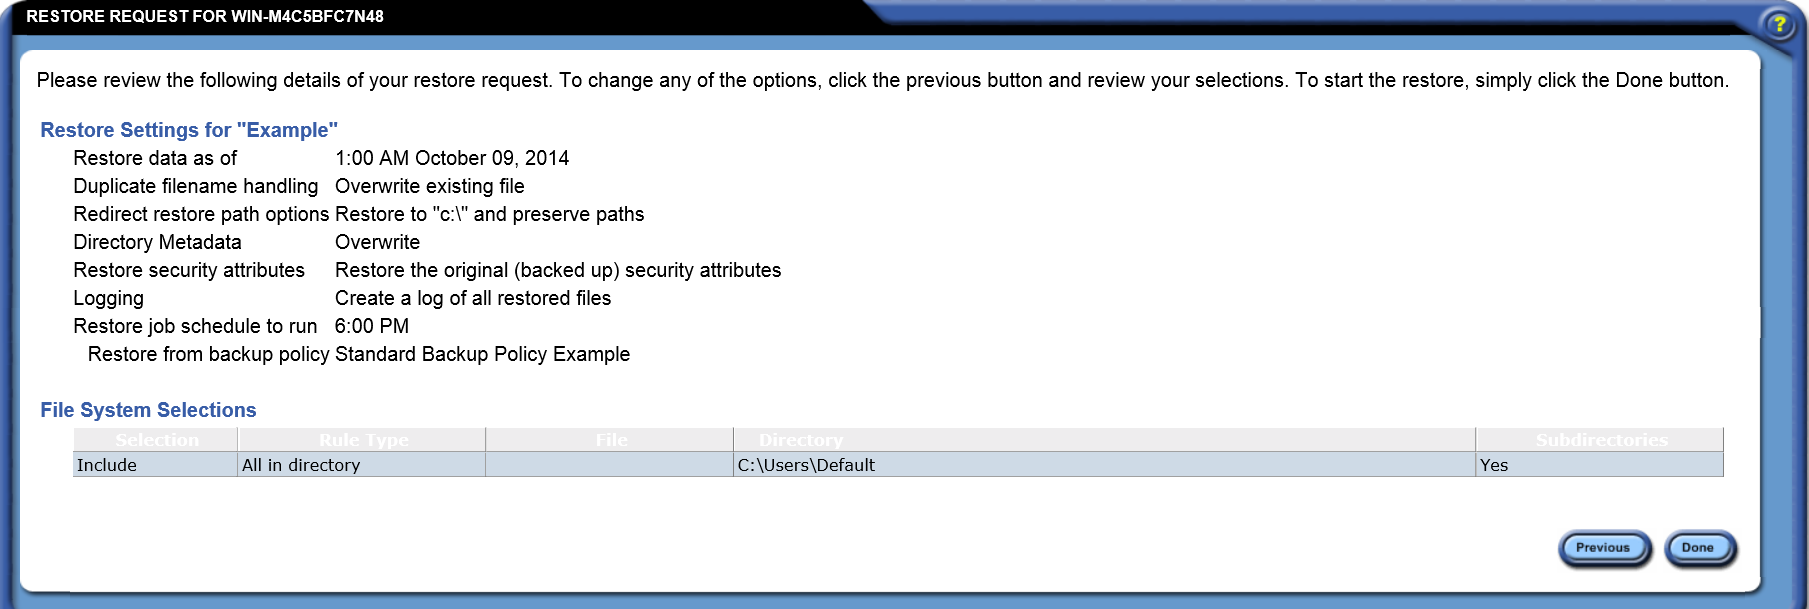
- Review the information in the Restore Request for <computer> confirmation page.
- Click Done.
After you restore your data to your computer, test it to ensure the data has been restored and the associated applications are operating correctly.
Troubleshooting
If your network does not support DHCP
If your network does not support DHCP, then you must download the LVLocator tool. LV Locator allows you to manage the MRS device and configure a static IP address for the MRS device if your network does not support DHCP. The system that LVLocator is executed from must reside on the same subnet as the MRS device.
To download LVLocator from within the LiveVault portal, Welcome HOME page, proceed as follows,
Download LVLocator
- In the navigation pane, click Downloads at the top of the page.
- The Downloads page opens.
- Click the Utilities tab.
- The Utilities page opens.
- Click LVLocator to download the installer package.
Configure a static IP address for the MRS device
- Click Run to run the LVLocator.exe. Alternatively click Save and specify a location to save the LVLocator.exe.
The LVLocator software scans your network and locates the MRS devices available.
- Locate the MRS device in the list.
- Uncheck DHCP Enabled and enter the appropriate TCP/IP information for your network.
- Proceed with the Restoring a backup using a Media Restore Server procedure above to complete the restore process. If the MRS restore device does not appear in the Restore Wizard as an option to restore from, contact Cloud Direct Technical Support.
If the restore job does not launch and shows a progress bar on the Restore tab
If the restore job does not launch and shows a progress bar on the Restore tab in the LiveVault portal, then perform the following tasks:
- Restart the LiveVault service on the MRS by rebooting the device.
- Restart the LiveVault service on the target server you are restoring to.
- Confirm you have imported the encryption key to the target server if you are redirecting the data to another agent / server.
