
Accessing and navigating the Attix5 Web Console
The Attix5 Web Console is also known as the Attix5 Pro Console, the Attix5 Storage Platform Console, or simply the Attix5 Platform or Portal. In this article we will refer to it as the Attix5 Web Console. The Attix5 Web Console enables management of all your Attix5 assets.
Note:
The Attix5 Web Console is used extensively by Cloud Direct, but is not normally available for direct customer use. If you have any queries regarding Console availability or use, please contact Cloud Direct Technical Services on 0800 368 1831, or email TechServices@clouddirect.net.
This article shows how to access and navigate the Attix5 Web Console. It contains the following sections:
- Accessing the Attix5 Web Console
- Navigating the Attix5 Web Console
- The Menu bar
- The Icons bar
- The Navigation panel and Display panel
- Help
Note:
Some of the functionality available to a user on the Attix5 Web Console is dependent upon assigned access privileges.
Prerequisites
This article assumes that you have downloaded and installed the Attix5 Web Console.
Accessing the Attix5 Web Console
To access the Attix5 Web Console, proceed as follows.
- Double-click the Attix5 Storage Platform icon on your desktop.

Note:
If you don't have a desktop icon then go to Programs and Features, and select Attix5 Pro Console from your list of installed programs.
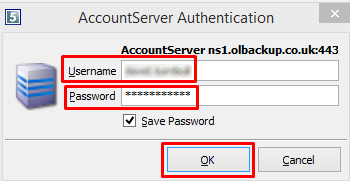
The Attix5 Pro Console will attempt to open, and may present you with an AccountServer Authentication dialogue box.
- Enter your Username and Password, then click OK.
The Attix5 Web Console opens.
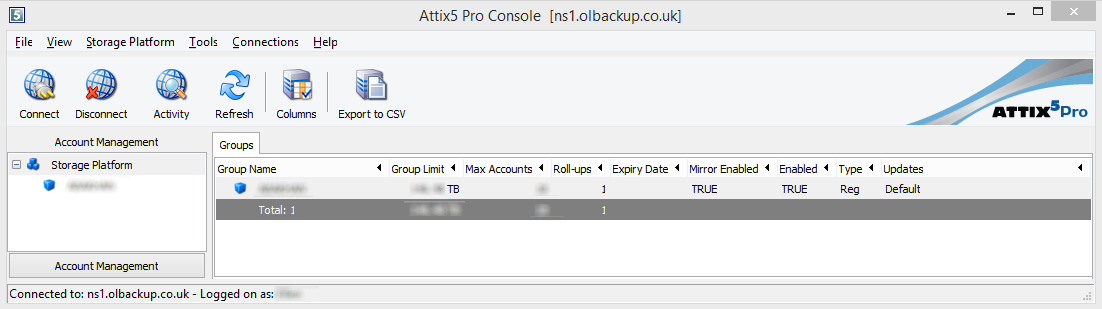
The screen footer, identifies the storage platform you are connected to, and your username.

Note:
There are actually two Attix5 storage platforms in use with Cloud Direct. These are, ns1.olbackup.co.uk and ns10.olbackup.co.uk. Each storage platform contains an AccountServer plus a number of StorageServers, and possibly MirrorServers. You will have been informed of the storage platform applicable to your Attix5 community when granted access to the Attix5 Web Console, and you will be granted access to only one of these platforms.
Navigating the Attix5 Web Console
The Attix5 Web Console contains a Menu bar, an Icons bar, a Navigation panel and a Data Display panel. These are described below.
The Menu bar
The Menu bar is situated at the top of the page.

It enables access to the following:
|
Menu |
Sub-menu |
Remarks |
|
File |
Exit |
Exit the Attix5 Web Console. |
|
View |
Account Management |
Account management. Displays by default when opening the console. |
|
Activity |
Show activity such as backups and restores. |
|
|
Customise Columns |
Define which columns appear in the Display panel. |
|
|
Storage Platform |
Refresh F5 |
Refresh the display. |
|
Tools |
Options |
Connection, display, or fixed view options. |
|
Change Password |
Change password. |
|
|
Export to CSV |
Export data as a CSV file. |
|
|
Connections |
Add Storage Platform |
Connect to another Storage Platform or StorageServer. |
|
Add MirrorServer |
Connect to a MirrorServer. (MirrorServers mirror the data in a StorageServer). |
|
|
Previously accessed platforms |
A list of previously accessed platforms. |
|
|
Help |
Product Help |
Toggles on/off Help files view – see Help. |
|
About |
Storage Platform Console version information. |
The Icons bar
The Icons bar is situated near the top of the page, just below the Menu bar.
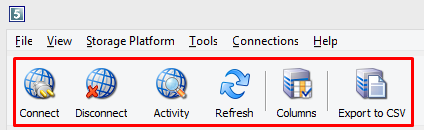
It enables access to the following:
|
Icon |
Remarks |
|
|
Opens Connections Menu options. |
|
|
Disconnects from the storage platform you are currently accessing, but leaves you in the Attix5 Web Console. |
|
|
Toggles on/off the Activity View. |
|
|
Refreshes the display (F5). |
|
|
Opens the Customise Columns Sub-Menu. |
|
|
Export data as a CSV file. |


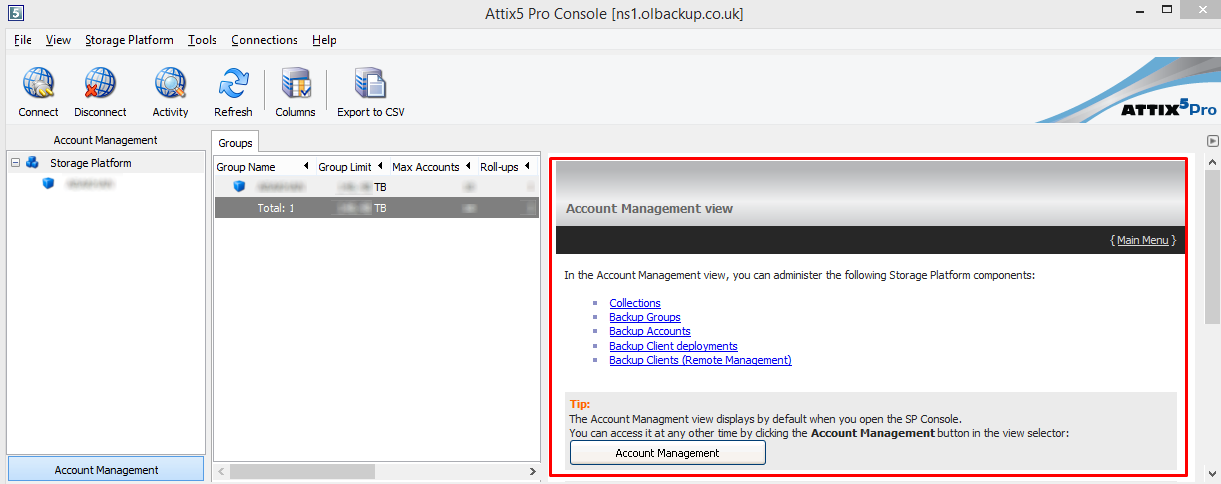
The Navigation panel and Display panel
The Navigation panel is located on the left hand side of the screen, the Display panel on the right hand side.

Display Backup Groups
In the Navigation panel, beneath the Storage Platform entry, there are one or more Backup Groups listed.
With the Storage Platform selected, as in the illustration above, the Display panel shows data for the Backup Group, or Groups.
Display Backup Accounts
Each Backup Group contains one or more Backup Accounts.
In the Navigation panel, click on a Backup Group.
Two additional icons appear in the icon bar:
|
Icon |
Remarks |
|
|
Launches the Deployment Wizard to create a single installation file (MSI) that can be preconfigured with file selections and backup permissions to install the Desktop and Laptop Edition or Server Edition Backup Client software on a computer. |
|
|
Allows Backup Accounts to be filtered within Backup Groups. |


The Display panel now shows an Accounts tab view, containing the Backup Accounts that make up this Backup Group.

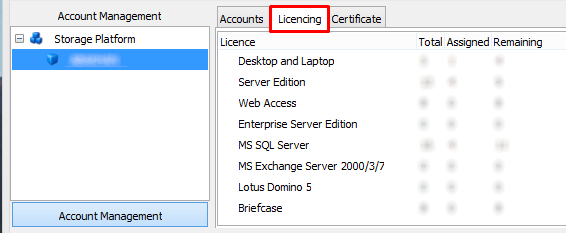
Display licence information
Click the Licencing tab to display licence details for the Backup Group.
Manage Backup Accounts
From the Display panel, Accounts tab view, click on a Backup Account.
Seven additional icons appear in the icon bar, and the Deploy icon is removed:
|
Icon |
Remarks |
|
|
Change the GB storage limit for this Backup Account. |
|
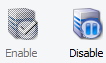
|
Enable or Disable this Backup Account. |
|
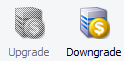
|
Upgrade, or downgrade this Backup Account. Upgrading may entail cost implications. |
|
|
Delete this Backup Account. |
|
|
Launch a LiveRestore or VirtualRestore session. |


Help
The Attix5 Web Console contains a number of useful Help files to assist the user when carrying out activities in the Console. To access the Help files proceed as follows.
- From the Menu bar, click Help, then Product Help.

The Attix5 Web Console Help opens in the Account Management View.
You may find it more helpful to click Main Menu (on the right hand side of the thick horizontal black bar), to reveal an index of Help topics.
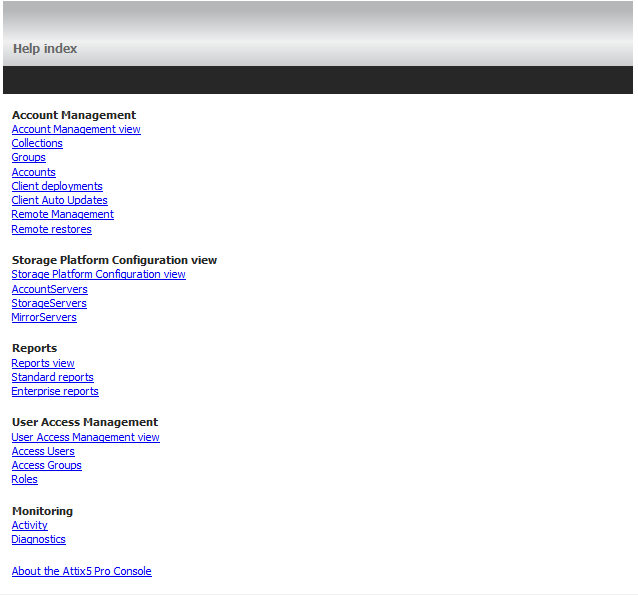
Click any item in the index to open the appropriate file.
