
Technical advice for LiveVault provisioning issues
Though most LiveVault provisioning tasks are completed without any problems, there are a few that are not so straightforward. The following information has been gathered by engineers involved in troubleshooting technical issues that may possibly appear during LiveVault provisioning. We hope that this may help if issues are encountered when provisioning future LiveVault customers.
The article contains the following sections:
- Error message, "verifyCredentials returned error: web site ssl authentication failed."
- Check administrator user
- Check SSL certificates
- Check Windows error codes
- Check network connectivity
- Use the Provisioning Test URL
- Check the Provisioning URL
- Check and verify your root certificate
- Verify that the root certificate issuer is Trusted
- Check username, password, and permissions
Note:
For Windows 2003 users.
Microsoft stopped supporting Windows 2003 in July of 2015. Although LiveVault continues to support Windows 2003, this support is limited, and customers are strongly advised to upgrade their version of Windows.
Error message, "verifyCredentials returned error: web site ssl authentication failed."
After installing LiveVault, if you see this error message when running the LiveVault configuration wizard:
verifyCredentials returned error: web site ssl authentication failed
then proceed as follows.
Check administrator user
- Verify that you installed the LiveVault wizard with an administrator user, or you run it as administrator (right click on the LiveVault wizard, and click Run as administrator).
If the administrator user is not the problem then check the certificates.
Check SSL certificates
Check the SSL certificates as follows.
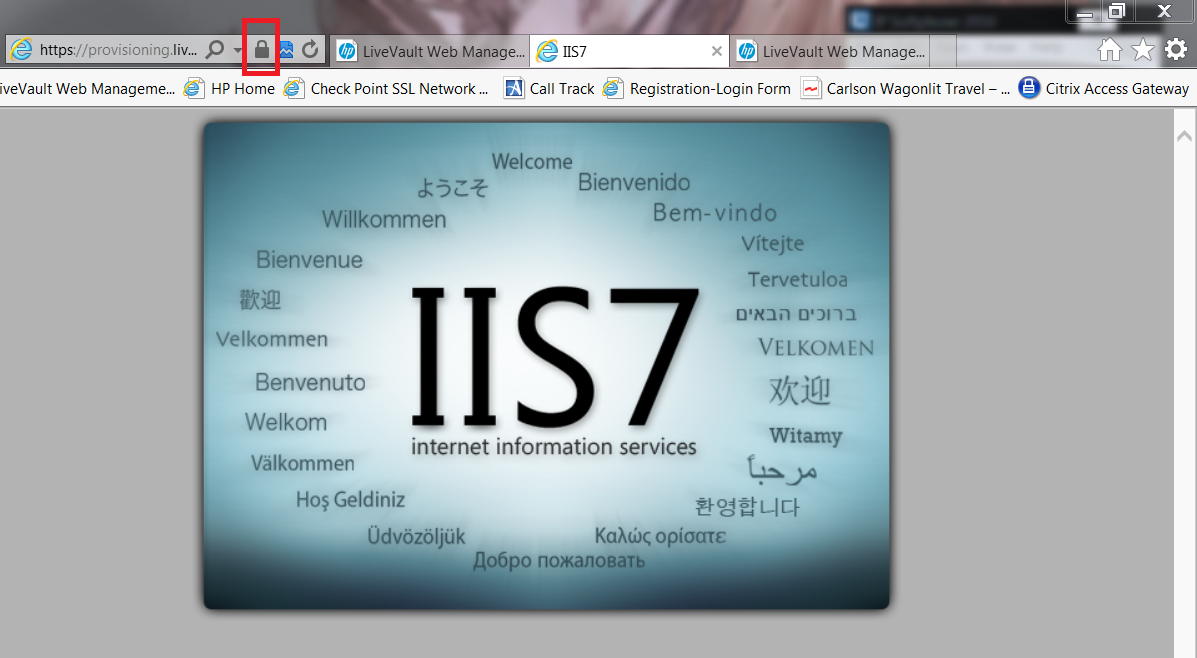
- Open a browser window, and go to the following URL: https://provisioning.livevault.com/.
The Internet Information Services (IIS7) window appears.
- In your browser address field, click the Padlock icon, as shown below.
- From the options that appear, click View certificates.
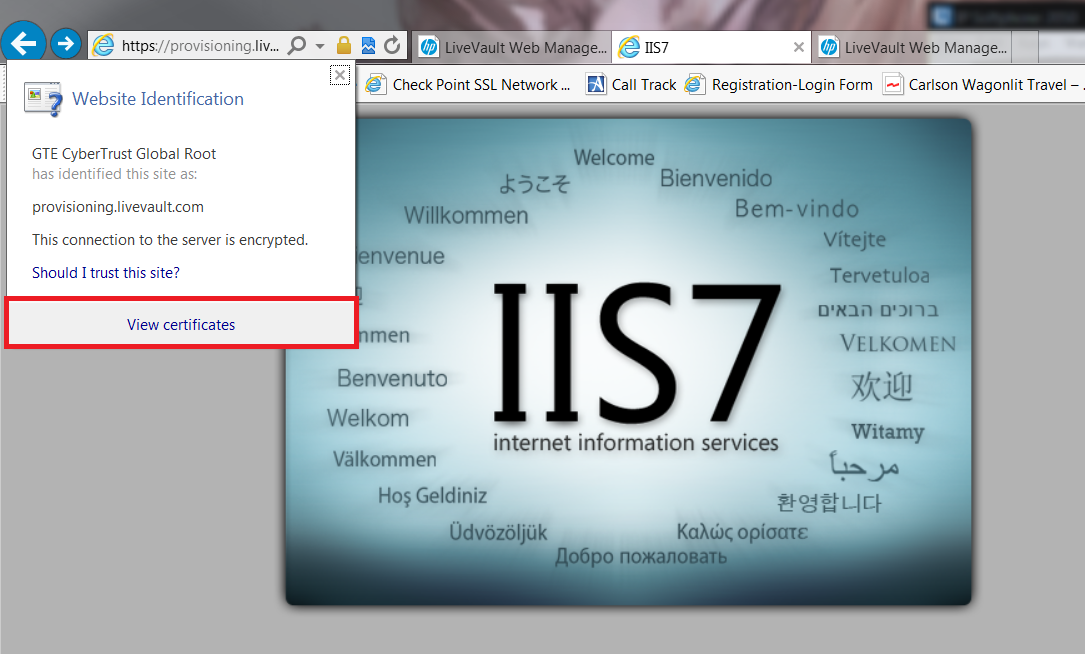
The Certificate page appears.
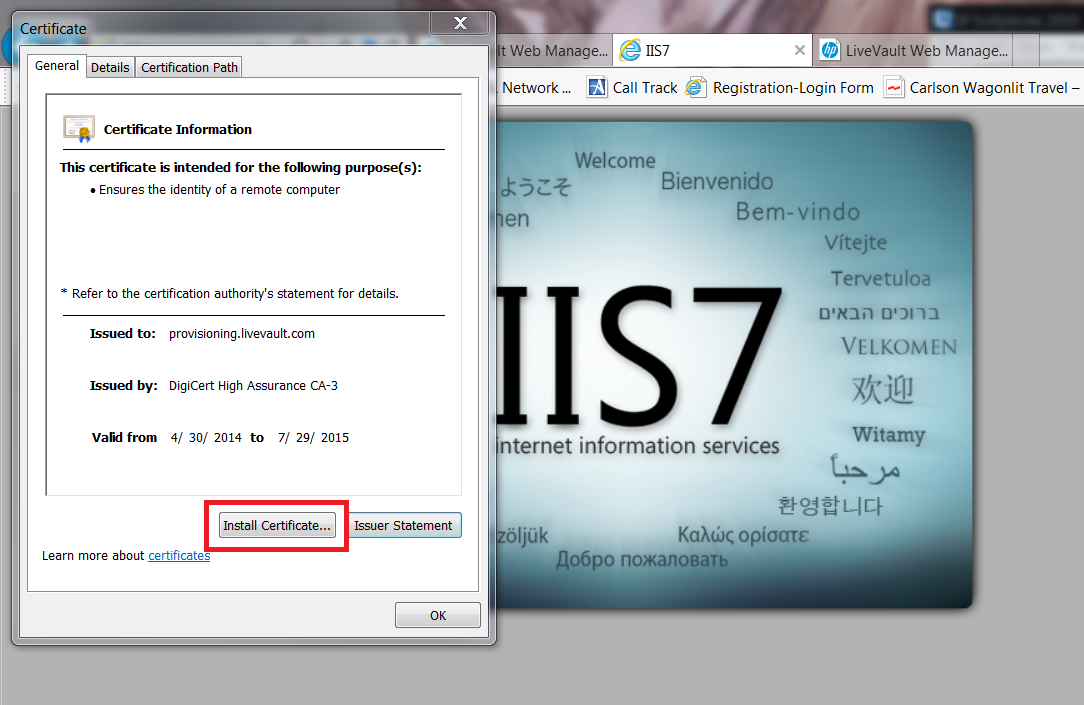
- Click, Install Certificates, then follow the instructions to import and install the certificates.
A window appears indicating that the import was successful.
- Run the LiveVault configuration wizard again to check if this has resolved the error message.
Check Windows error codes
When provisioning fails, the LiveVault agent copies the Windows error code from the operating system and places it in the lvSuper.0.log located in the LiveVault Program Directory at C:\program files\autonomy\backupengine. The Windows error code may indicate where the problem lies.
Note:
For older installations, the LiveVault Program Directory is at C:\Program Files\Iron Mountain\backupengine.
Check the Windows error code as follows:
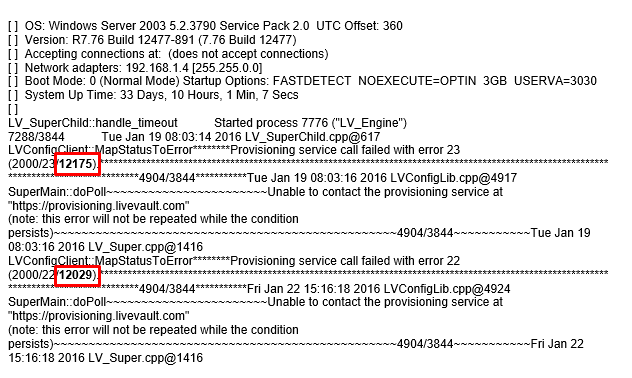
- Go to the LiveVault Program Directory and open the lvSuper.0.log to find the error code(s).
An example of the lvSuper.0.log is shown below, highlighting two of the more common Windows error codes; 12175 and 12029.
- Note the Windows error code(s).
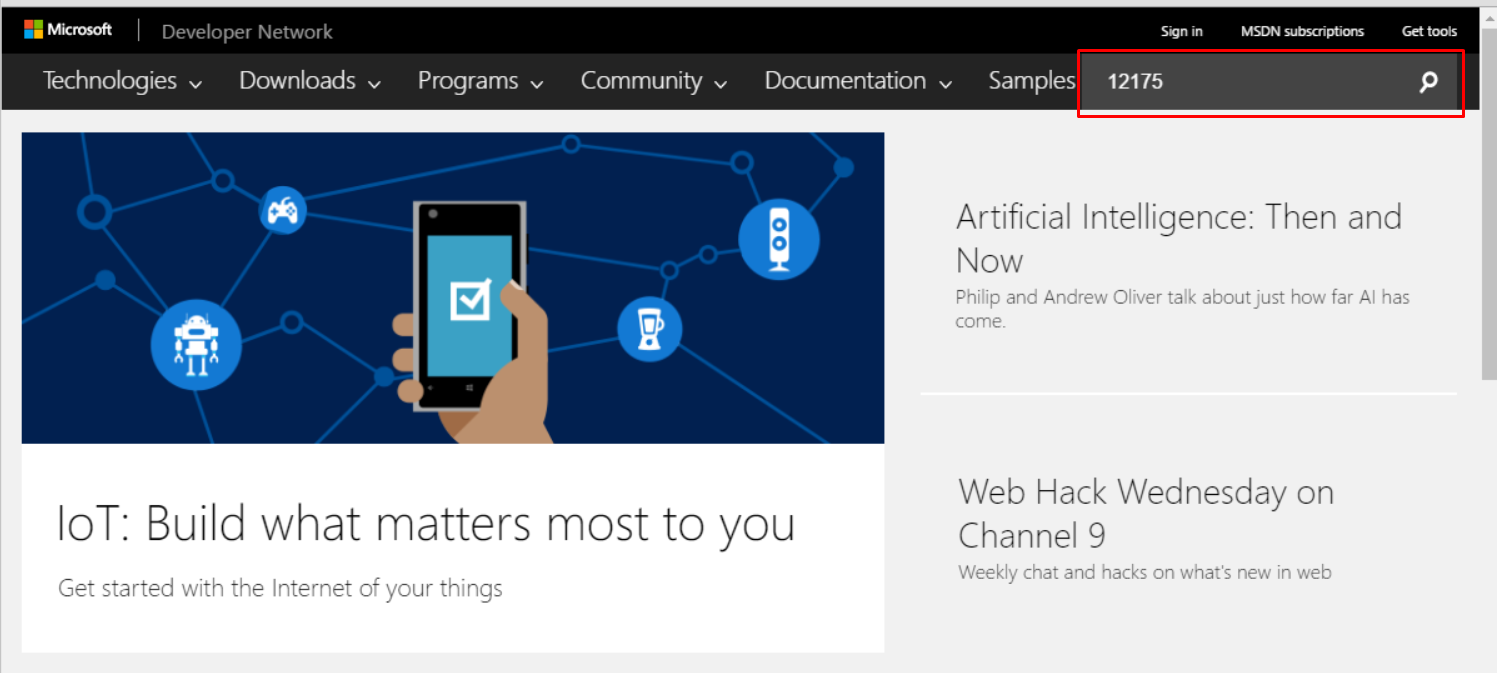
- Open a windows browser, and go to the Microsoft Developer Network website at https://msdn.microsoft.com.
- In the top right hand corner of the homepage, click the magnifier icon, enter the error code in the search field, then press the Return key.
The search results are revealed.
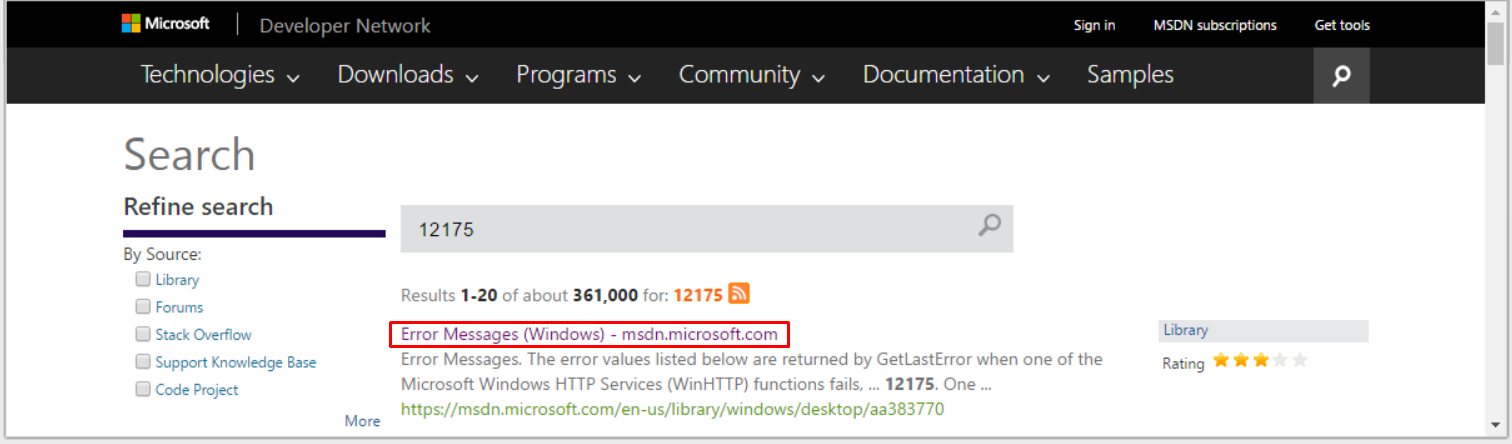
Search a little deeper and you will soon find an explanation of the Windows error code.

In our example, the explanation of error 12175 indicates an SSL certificate related issue. Research the error and take action based on what you find.
Check network connectivity
LiveVault provisioning is likely to be impacted if there are any network connectivity issues.
The procedure to check network connectivity assumes that the LiveVault Configuration Wizard is displaying an error that indicates potential connectivity problems, such as:
"VerifyCredentials returned error: Cannot connect to provisioning service"
The first tool to use when troubleshooting network connectivity issues is telnet.
Note:
Sometimes telnet needs to be enabled on Windows servers. In the Control Panel, go to Programs and Features, click Turn Windows Features on or off, then, in the Windows Features dialogue box, tick the Telnet Client checkbox, then click OK.
- Open a Command Prompt window, and type, telnet, to access the Telnet client.

- Type, o provisioning.livevault.com 443, to access the LiveVault provisioning server.
If telnet access fails then that needs to be fixed first as it indicates a network connectivity issue, usually customer firewall related.
Note:
Ping and Tracert cannot be used to check connectivity to the LiveVault provisioning server or the bridge servers.
Use the Provisioning Test URL
If the LiveVault Configuration Wizard is displaying an error that indicates potential credential or connectivity problems, such as:
"VerifyCredentials returned error: Cannot connect to provisioning service",
and you have successfully accessed the provisioning server using telnet, then use the Provisioning Test URL to further check connectivity. Proceed as follows.
- On the system having the error, open a Windows browser and enter the Provisioning Test URL. https://provisioning.livevault.com/livevault.bluefoot.provisioning/provisioning.asmx?op=testxxxx
A successful test returns a page stating, Method Not Found.

Note:
Another way to verify success is to look on the LiveVault provisioning server, in the weblogs\w3svc1 logfile, and search for the message testxxxx, or whatever text was used in the Provisioning Test URL.
If you do not have access to weblogs\w3svc1 on the LiveVault provisioning server, then contact HP Operations to work with you during the provisioning testing.
An unsuccessful test is that Method Not Found is not displayed, and that no message exists on the active provisioning server.
Check the Provisioning URL
To check the URL to the provisioning server, proceed as follows.
- In the first screen of the LiveVault Configuration Wizard, select the configuration button, and verify that the Provisioning URL is set to https://provisioning.livevault.com.
- Click the Test button.
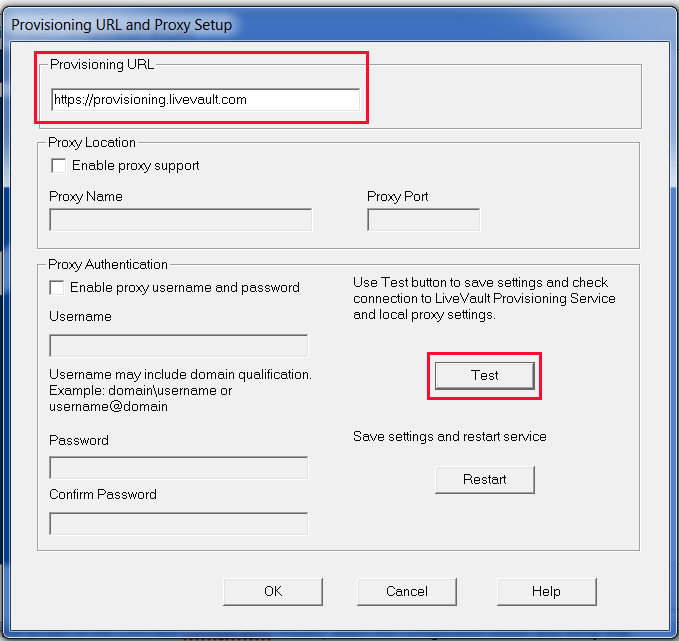
This checks the connection to the LiveVault provisioning server. If the test is successful, a confirmatory message is returned.
Check and verify your root certificate
To check and verify the root certificate, proceed as follows.
- View the root certificate by clicking on the Padlock icon in the address field, then clicking View certificates.
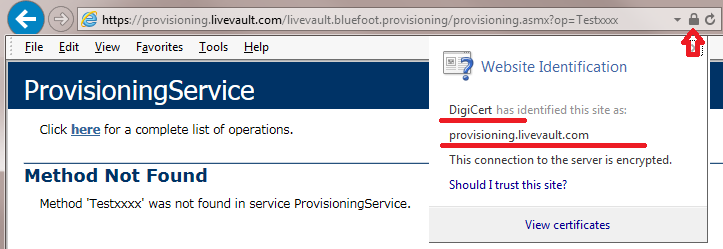
The Certificate dialogue box appears.
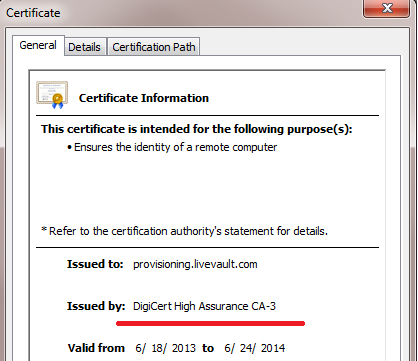
- Make a note of the certificate type identified to the right of Issued by, as underlined in the illustration above.
- Check if your root certificate is up to date by running a certificate test on the DigiCert website:
- Open a Windows browser, and go to https://www.digicert.com/digicert-root-certificates.htm
The DigiCert Trusted Root Authority Certificates webpage opens.
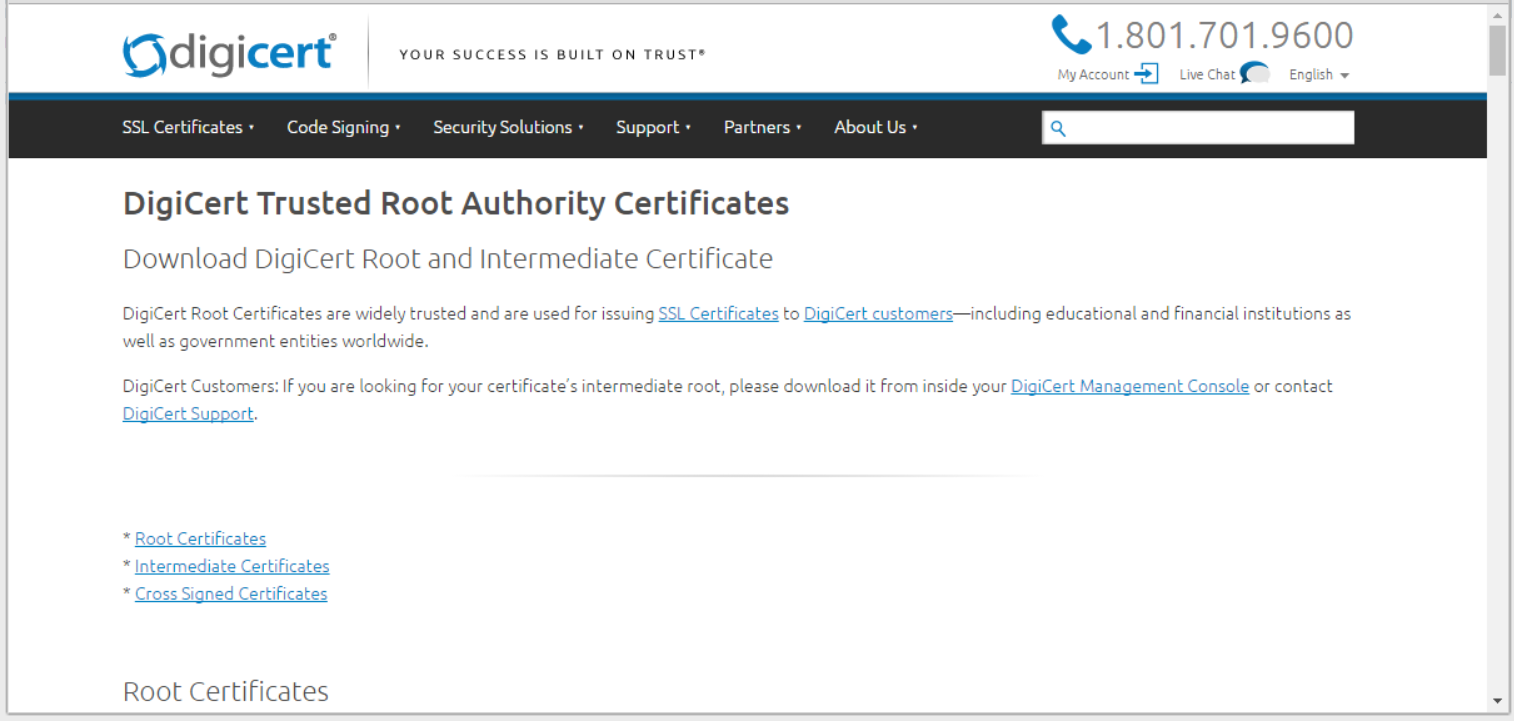
- Scroll down the page to find the Root Certificate type that you noted in Step 2.

- If the option to "Test my browser for this root certificate" is available, then click to test. If this option is not available, then there will be a download option. Click "Download" to download the latest version of this root certificate.
Verify that the root certificate issuer is Trusted
To verify that the root certificate issuer is Trusted, proceed as follows.
- From your IE browser, click the Settings icon, then click Internet Options.
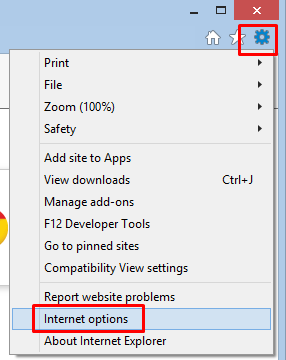
The Internet Options dialogue box opens.
- Click the Contents tab, then Certificates.
The Certificates page opens.
- Click the Trusted Root Certification Authorities tab, then locate your root certificate authority in the list.
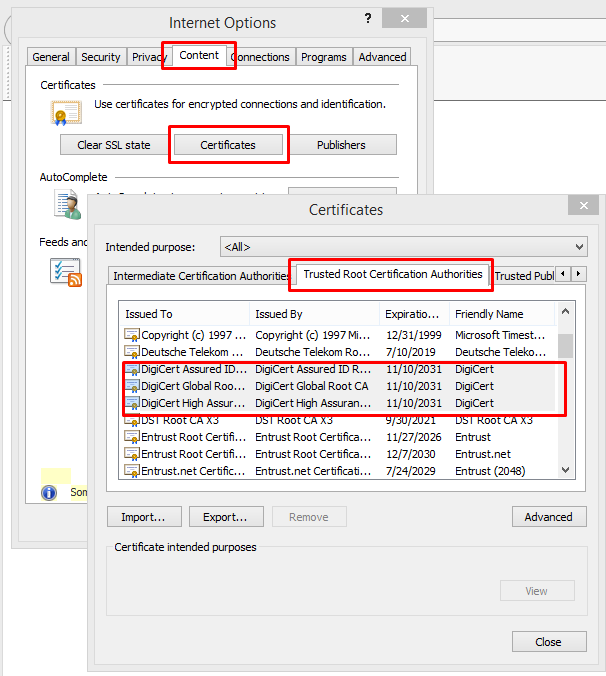
- If the certificate issuer is not on the list, then the administrator should do one of the following:
- Enable Windows update so it will update the root certificates.
- Download a root kit from Microsoft if available.
- Search the DigiCert's website for an update, then update the DigiCert certificates manually.
Check username, password, and permissions
To verify that the login and password used by the LiveVault Configuration Wizard are correct, proceed as follows.
- Open Internet Explorer, and connect to the LiveVault portal at https://backupdirect.onlinebackup.com.
The LiveVault portal Login page appears
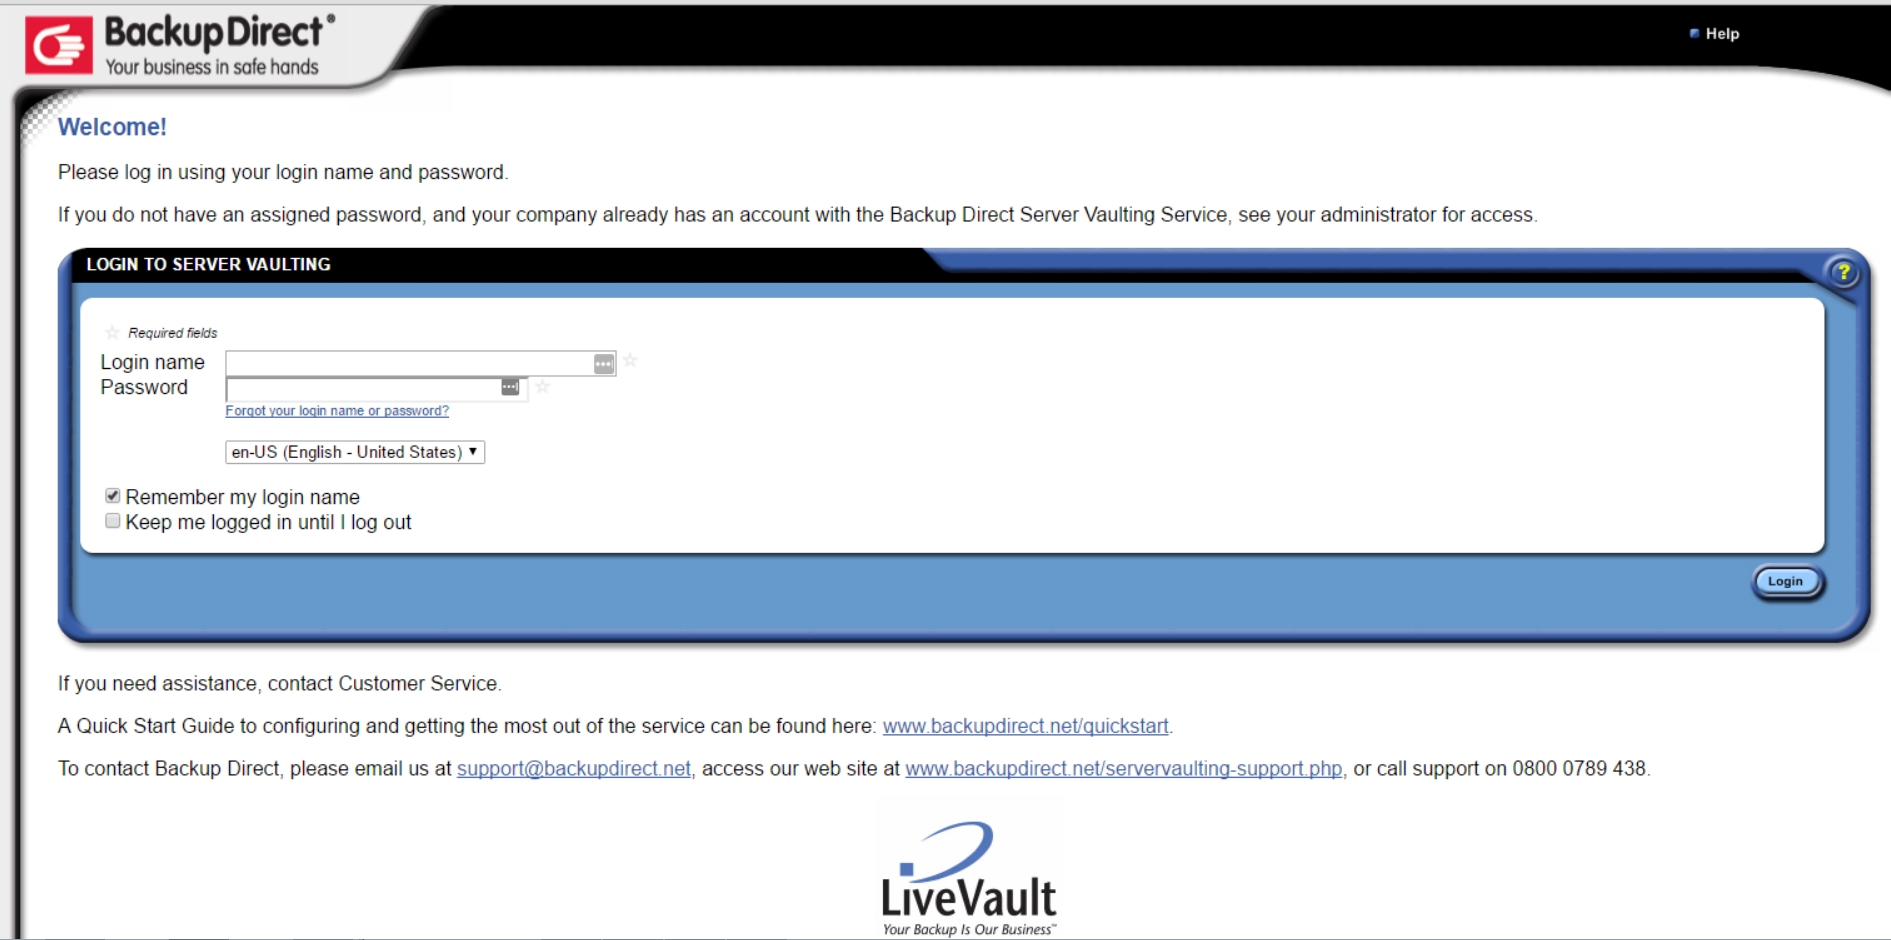
- Log in to the portal using the same Login name and Password as used when provisioning.
If you can log in successfully then the login name and password are correct.
- If the error message received from the LiveVault configuration wizard is as follows:
"Customer account required. You are logging on with an account that is incorrect for adding, upgrading, or recovering a system",
then, while logged in to the portal, also check and confirm you have correct access permissions.
