
Local configuration of the Azure Backup agent
The Azure Backup agent may be configured locally via the agent interface, or remotely via the Cloud Direct Azure Backup console. This article describes how to configure the Azure Backup agent locally via the agent interface. In particular, it will cover the following:
- Accessing the configuration functions
- Configuring agent account details
- Editing a file system account (storage destination)
- Configuring agent options
- Exporting configuration
- Importing configuration
Prerequisites
Before commencing this task, you must have the Azure Backup agent installed on your computer/server. Please refer to knowledge article KB0011324, Installing the Azure Backup agent, if you require information regarding Azure Backup download and install.
Accessing the configuration functions
To access the configuration functions of the Azure Backup agent, proceed as follows.
- Double click on the Azure Backup icon located on your desktop, to open the Azure Backup agent interface.

Note:
If prompted to enter your username and password, then do so.
The Azure Backup agent window appears.
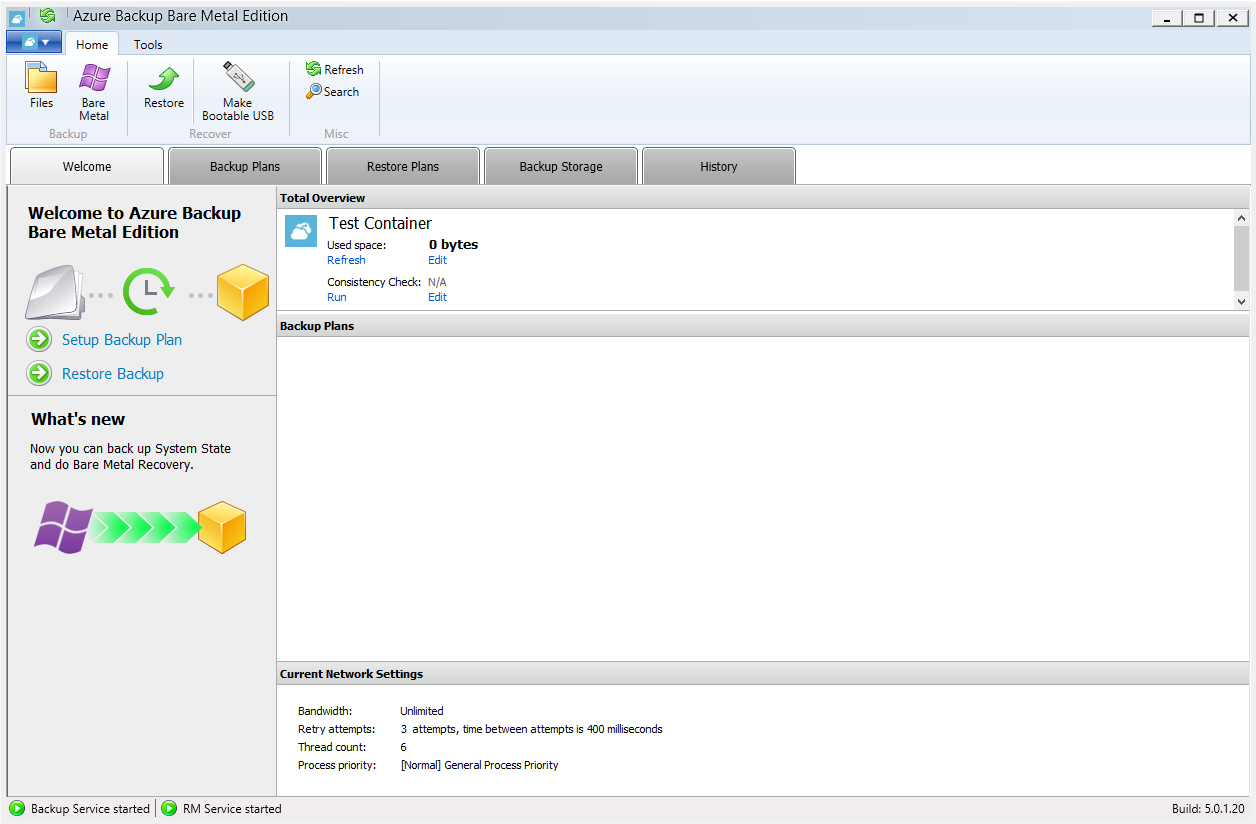
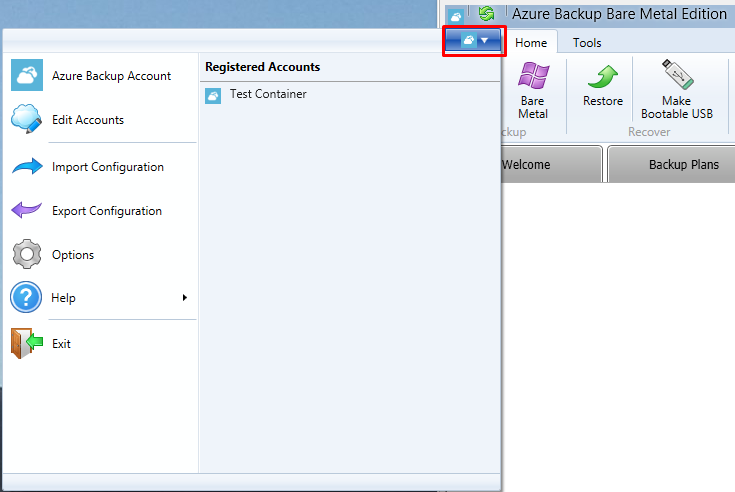
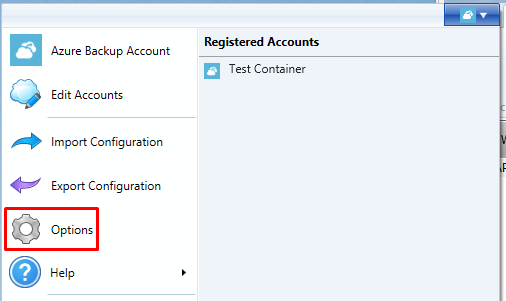
- Click the Azure dropdown icon at the top left hand corner of the screen, to reveal a list of options.
Configuring agent account details
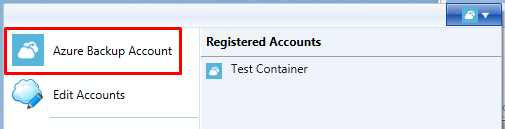
- From the Azure dropdown options, click Azure Backup Account.
The Azure Backup Account dialogue box opens, revealing your email address and (hidden) password.
Note:
You will not be allowed to make changes if the Email and Password details are incorrect.
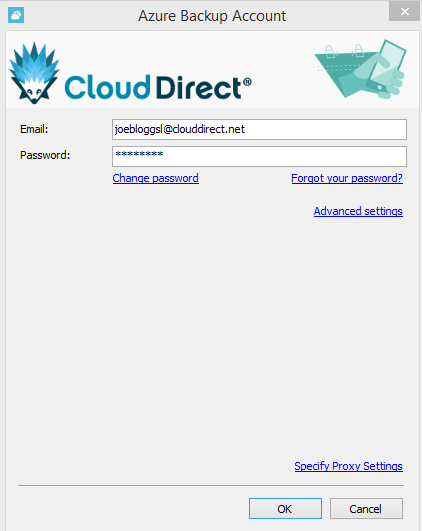
- Click Advanced settings.
Additional settings appear at the bottom of the dialogue box.
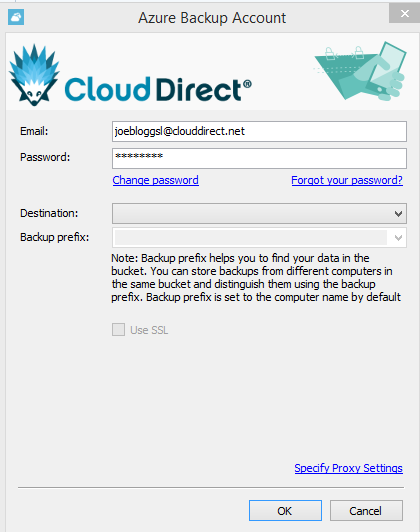
- If required,
- In the Destination field, select a different storage account from the dropdown.
- In the Backup prefix field, select a different Backup prefix from the dropdown.
- Untick the SSL checkbox, if you don't want to use the Secure Sockets Layer.
- Click Specify Proxy Settings.
The Options dialogue box opens.
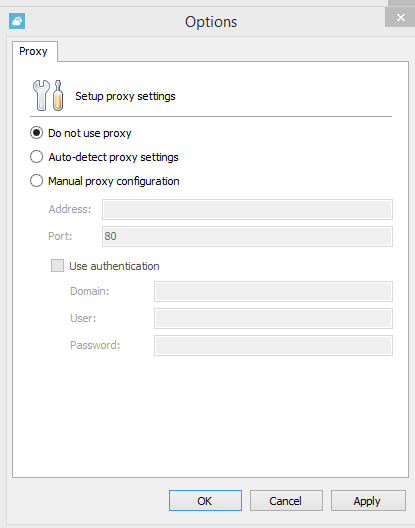
- The default setting is Do not use proxy but, if an alternative is required,
- Select Auto-detect proxy settings, or,
- Select Manual proxy configuration, and enter required details.
- Click OK, to close the Options box and return to the Azure Backup Account dialogue box.
- Click OK, to save and apply your settings.
Editing a file system account (storage destination)
- From the Azure dropdown options, click Edit Accounts.
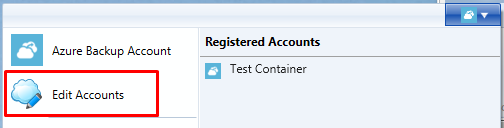
The Registered Accounts dialogue box opens, revealing your registered file system or storage account(s).
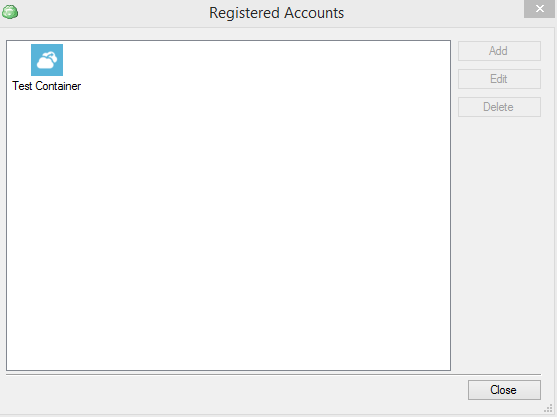
From the Registered Accounts dialogue box, you can select a file system account, or storage destination, and change the associated backup schedule. Or, run a backup now.
- Click on a storage account icon to select it.
The greyed out buttons, Edit and Delete, at the right hand side of the display, are now available for this storage account.
Note:
Click the Delete button only if you want to delete the selected registered file system account.
- Click Edit.
The following dialogue box appears.
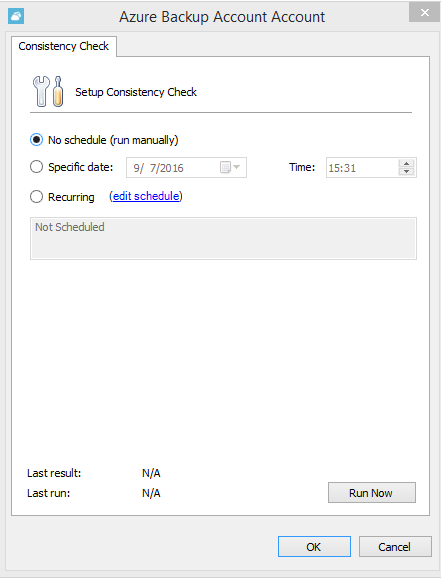
- From here, change backup schedule configuration, as required:
- Click No Schedule, to ensure a backup runs only when manually initiated.
- Click Specific date, to run a backup once, on a specific date. Enter the required date and time.
- Click Recurring, (or edit schedule), to schedule a recurring backup period. If this option is selected then the Schedule Recurring Options dialogue box appears,

Enter details as required, then click OK, to close the dialogue box.
- If required, click the Run Now button to manually initiate a backup to start immediately.
- Click OK, to close the Azure Backup Account Account dialogue box, and save your settings.
Configuring agent options
- From the Azure dropdown options, click Options.
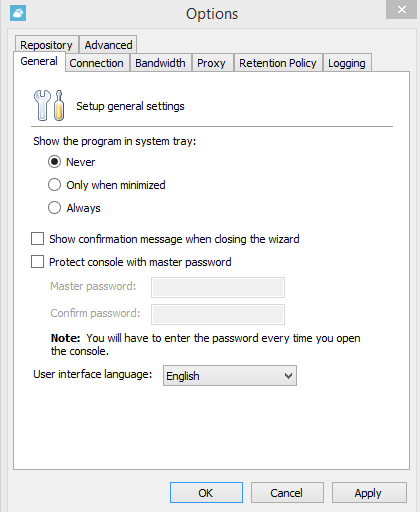
The Options dialogue box opens, revealing a number of different tabs providing configurable options; General, Connection, Bandwidth, Proxy, Retention Policy, Logging, Repository, and Advanced.
Option values are shown as defaults, and described below.
|
Option |
Enables… |
|
General
|
A program icon to be shown in the system tray. A confirmation message to be auto-sent when closing the wizard. A master password to be set for your Azure Backup agent. User interface language selection. |
|
Connection
|
Set number of connection attempts before Fail registered. Set the time between connection retry attempts. |
|
Bandwidth
|
Configure bandwidth throttling options to maximise bandwidth usage. Set bandwidth/max speed for data transfer to cloud storage, and to local storage. Also, if required, Enable (and if required, Add) a specific backup schedule to work with particular bandwidth settings. |
|
Proxy |
Set proxy setting at; do not use, auto-detect, or manual. |
|
Retention Policy
|
Set a backup data retention policy to identify backup versions, and historical records, to keep and/or to delete. |
|
Logging
|
Set up diagnostic logging (none, low, or high), and identify the file where logs are stored. View the current diagnostic log if required. |
|
Repository |
Configure repository options. Important: |
|
Advanced |
Set up advanced settings such as; chunk size of a file to be uploaded to cloud storage, thread size, and priority for the backup plan process. Also, tick box to prevent computer from sleeping while a plan is running. |
- Generally, leave option values as defaults, but change if required.
- Click OK, to save your required options.
Your Azure Backup agent options are applied and saved.
Exporting configuration
You can easily move your Azure Backup plans and other settings to another Managed Backup Service (MBS) client that allows you to use the same configuration. Selected backup plan(s) are saved in a Zip file for export.
To export a backup configuration, proceed as follows.
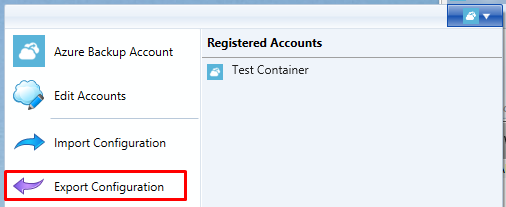
- From the Azure dropdown options, click Export Configuration.
The Export Configuration dialogue box appears.
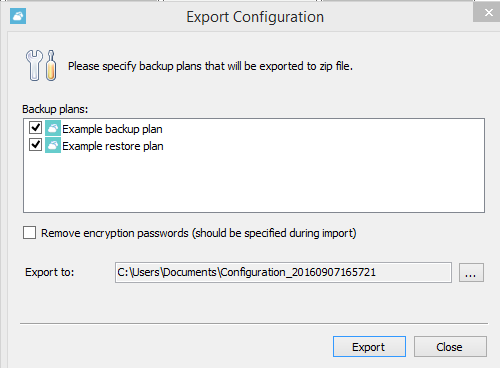
- From the list of Backup plans, tick the plan(s) that you wish to export.
- Tick Remove encryption passwords, if required during the subsequent import procedure.
The Export to text box shows the location where the Zip file containing your backup plan(s) will be stored. To store in a different location, click the ellipsis button  and, from the file explorer window that appears, select a new location.
- Click Export.
A confirmation box appears.
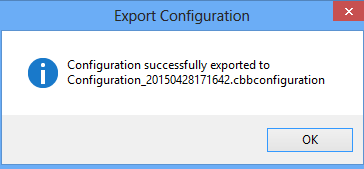
Your Azure Backup plan(s) configuration is saved in a Zip file that can be sent to a new client, and then imported.
Importing configuration
An external backup configuration can be imported to your Azure Backup client using a suitably prepared Zip file.
To import a backup configuration, proceed as follows.
- From the Azure dropdown options, click Import Configuration.

The Import Configuration dialogue box appears.
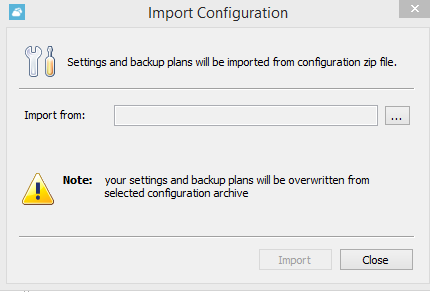
- To the right of the Import from field, click the ellipsis button .
A file explorer window appears.
- Browse to the location where the previously prepared configuration Zip file has been stored, and click to select the file.
The file location appears in the Import from field. The previously greyed out Import button is now active.
Important Note:
Imported settings and backup plans overwrite your own settings and backup plans. When you click the Import button your current settings and backup plans will be overwritten.
- Click Import.
After a successful import, the following confirmation box is displayed.
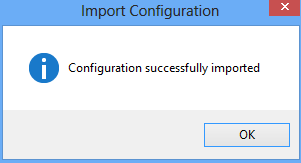
Your Azure Backup plan(s) and settings are now configured in accordance with the settings on the imported Zip file.
