
Using a rotating drives strategy with Azure Backup
Azure Backup is a service to back up and restore data in the Microsoft cloud.
This article explains how to use a rotating drives strategy with Azure Backup.
What is a rotating drives strategy?
A Backup Rotation, or Rotating Drives, strategy consists of regularly copying data to an external media device, such as a USB stick, which is mounted each time when the backup job is performed. Two, or more, of these external devices subsequently swap each other, and contain the full data copy, so rotation helps to reflect up-to-backup-date changes. When the drive with the old version of data is used for a backup again, then all outdated blocks are overwritten.
A Rotating Drives strategy is commonly used in these scenarios:
- Offsite high durable physical data storage.
- Big data volume maintenance and recovery, which must be restored quickly and reliably, so the numerous backup copies on different media are stored separately offline.
- In controlled-access enterprises, where data can be stored only on authorised devices.
- For long-term data storage with low access delay (For example, monthly customer requests archive).
How does it work?
The Azure Backup backup plan saves data incrementally; the initial seed is written during the first job, and then data is updated with modified or new files. Azure Backup automatically recognises the drives used for rotation within the backup plan, but it only uploads modified data by default. This reduces time and networking expenses on classical backup, but it doesn't work well with a Rotation strategy.
To deal with the incremental backup issue, Azure Backup has a Consistency Check feature which analyzes the attached storage and reports for differences between its actual and expected contents. Thus, the attached drive and repository metadata are synchronised, and the next backup is also configured to upload all data needed to create a full copy on the rotating device.
Rotating the Drives with Azure Backup
To Rotate Drives with Azure backup, proceed as follows.
- Create a new account.
- Click the main menu icon dropdown arrow, and then select Add New Account.
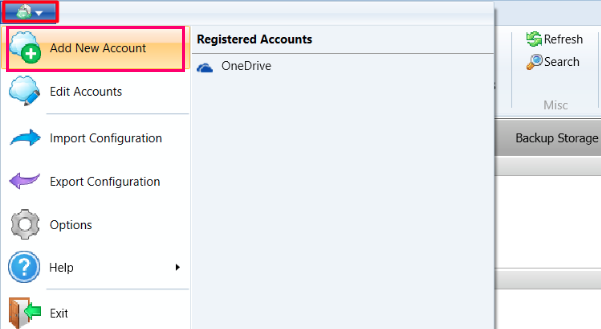
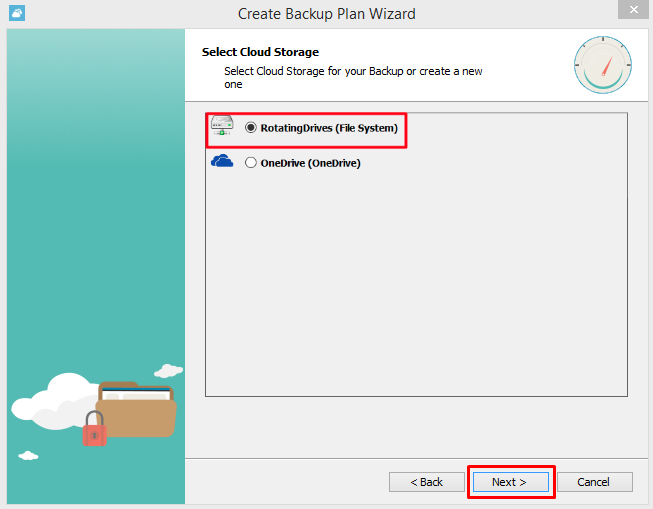
The Select Cloud Storage window appears.
- Click the File System icon to choose File System as the account type. (It is also possible to use any other type if needed).
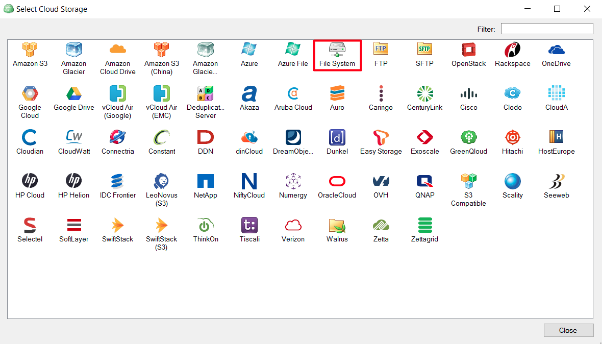
The File System Account window opens.
- In the new window, specify the Display Name and the Path to the Rotating Device.
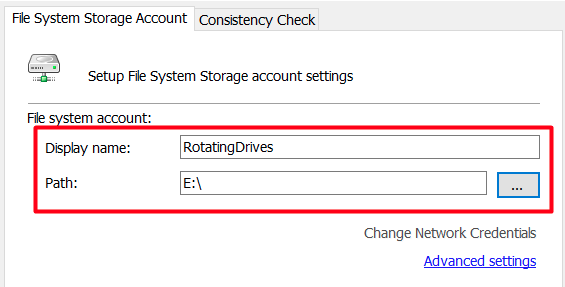
We can now configure the backup.
- Create a new backup plan, by clicking the Welcome tab, and then clicking Setup Backup Plan.
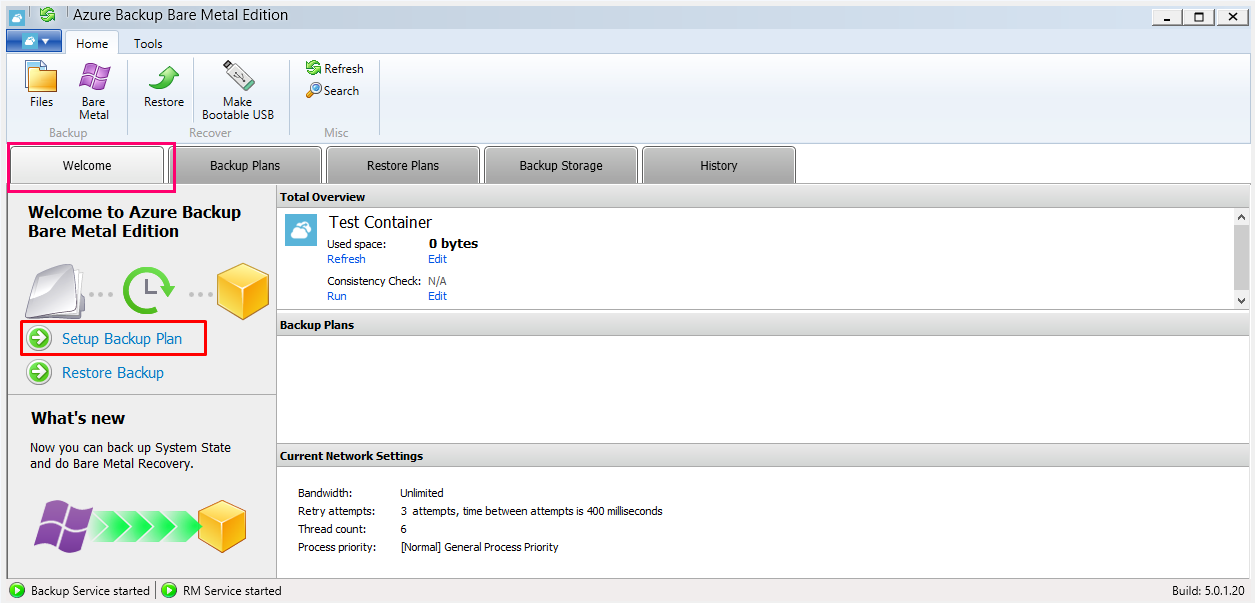
The Edit Backup Plan Wizard starts. Go through the steps in the Wizard to configure your backup.
- On the Select Cloud Storage step, choose the RotatingDrives (File System) account.
- Set other options as required, until you reach the Pre/Post Actions step.
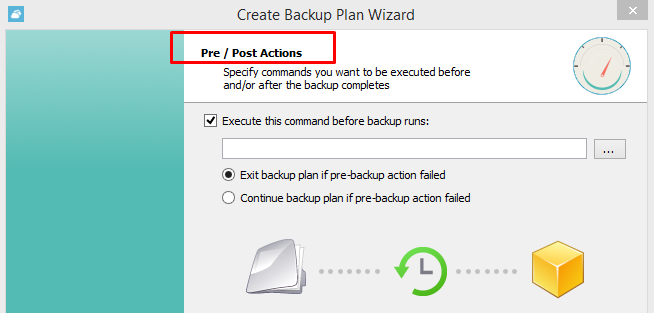
We now need to write a script, which runs a Consistency Pre-Check before each backup.
- Tick the checkbox, Execute this command before backup runs, and, in the text box, type the following:
"C:\Program Files (x86)\Cloud Direct\Azure Backup\cbb.exe" account -s "RotatingDrives"
Where, C:\ Program Files (x86)\Cloud Direct\Azure Backup is the default Azure Backup installation directory, and RotatingDrives is the account name.
Notes:
If you have previously changed the Cloud Direct Azure Backup installation directory from the default to a location of your choice, then you will need to reflect the new location path in your script.
If you use Azure Backup's "Encrypt filenames" option, then add -syncpassword "password" to the script, where "password" is the encryption password.
- Adjust notification settings as required, and finish the Wizard.
To start your Rotating Drives backup, simply plug in the external storage device, go to the Backup Plans tab, and run the newly created backup plan.
Note:
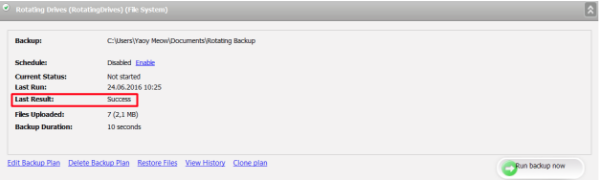
The Consistency Pre-Check automatically runs before the backup is taken. The result of the Consistency Pre-check should not be taken into consideration. It's okay when it displays Failed status, or shows warnings. It just means that some files were missed on the current destination drive.
If everything goes well, the Last Result of the backup will be shown as "Success".
Repeat Step 1 to Step 8 to set up any further Rotating Drive storage devices.
