
Resetting your Polycom phone to factory default settings
This article shows how to reset your Polycom phone's basic network configuration to factory default settings.
Note:
If you are experiencing issues with your Polycom phone, and suspect the settings, then we recommend you contact our Technical Services team on 0800 368 1831, or email TechServices@clouddirect.net, to discuss the problem before beginning this task.
Resetting to factory default settings
To reset your phone's basic network configuration to the factory default settings, proceed as follows.
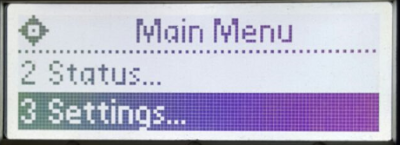
- On the handset, press the Menu button.
The screen displays the Main Menu.
- Select Settings.
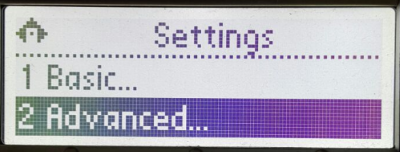
The Settings menu appears.
- On the Settings menu, select Advanced.
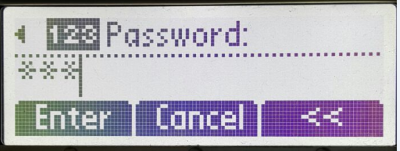
A Password screen appears
- Type in your phone Administrator password (456), then press Enter.
Caution:
456 is your phone's Administrator password. Do not change this password. If you change the password, and then require assistance, Cloud Direct may not be able to help.
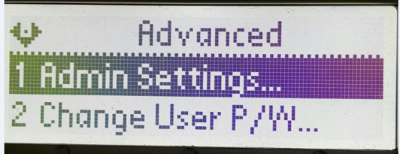
The Advanced menu appears.
- Select Admin Settings.
The Admin Settings menu appears.
- Select Reset to Defaults.
The Reset to Defaults menu appears.
- Scroll down the menu options, and select Reset to Factory.
- Select Yes, to confirm your selection.
Your phone will then reboot.
Provided Polycom ZTP (Zero Touch Provisioning) is functioning, there should be no further work needed. Your phone will automatically download new firmware, and config data from the ZTP-Server, and all settings will be returned to the factory defaults. Note, there may be multiple reboots.
What if ZTP is not functioning?
Under normal circumstances, ZTP will ensure your phone is downloaded with the required firmware and configuration data, and so there will be no need to continue any further with this procedure. However, if ZTP is not functioning, proceed as follows to enter configuration data manually.
- Follow Step 1 to Step 5 from the earlier procedure, to reach the Admin Settings menu.
- From the Admin Settings menu, select Network Configuration.
- On the Network Configuration screen, select Provisioning Server.
The Provisioning Server menu appears.
- Step through the options on the Provisioning Server menu, entering details as follows:
- Server Type = HTTPS
- Server Addr = soundpoint.yourservices.co.uk
- Server User = Leave blank
- Server Pwd = Leave blank
- SNTP Addr = uk.pool.ntp.org
- Save and exit for reboot.
